No-Bake Mini Cheesecakes
Recipe Overview
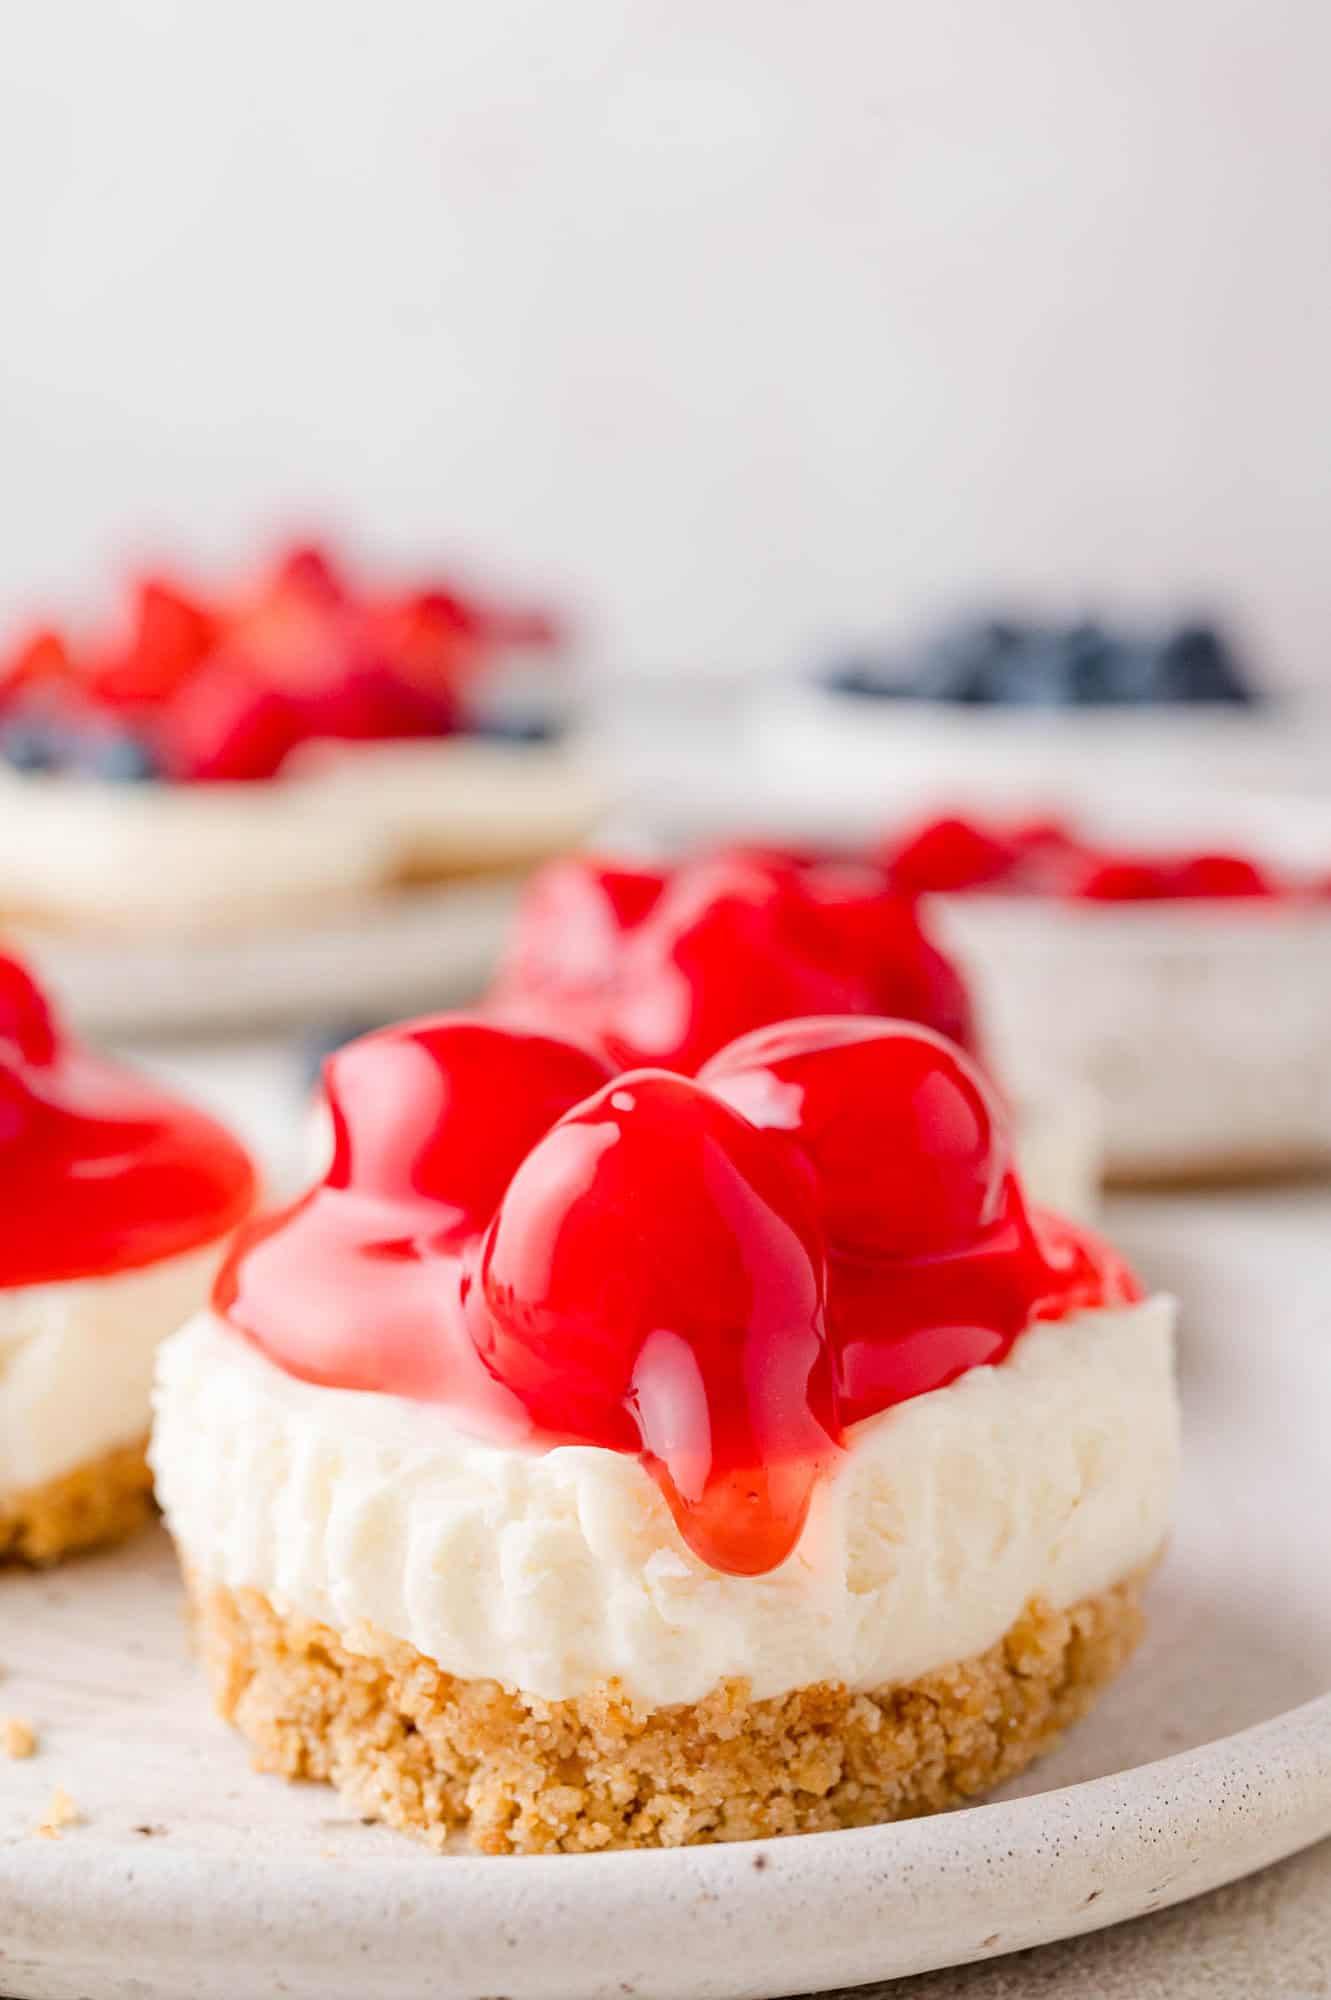
Why you’ll love it: These no-bake mini cheesecakes are cheesecake without the fuss! They’re creamy, rich, and tangy, and their individual size makes them perfect for parties.
How long it takes: 30 minutes for assembly, plus 2 hours chilling
Equipment you’ll need: mixing bowls, electric mixer, and cupcake pan
Servings: 24

Pin this now to find it later
No Stress Cheesecake!
Making traditional cheesecake can be fraught with anxiety. Making no-bake cheesecake? EASY. These no-bake mini cheesecakes are the perfect low effort dessert recipe because even though they’re simple to make, they’re delicious enough to impress.
Now, there are times when making a traditional cheesecake is totally worth it. But if I want something I can whip up easy-peasy, these no-bake mini cheesecakes are always my first choice. I’ve made them for lots of special occasions and they are always a hit.
No-bake vs. traditional. No-bake cheesecakes rely on refrigeration to set, and they’re most often made by combining whipped cream and cream cheese. Traditional baked cheesecakes get their structure from eggs and they also require a somewhat fussy baking process, usually in a water bath, to ensure the perfect creamy texture. Get it wrong and your cheesecake will crack—yikes! I’m glad to tell you here are no worries with these mini cheesecakes.

No-Bake Mini Cheesecakes
Rich and creamy texture. No-bake cheesecake has a different texture compared to regular cheesecake—equally delicious, but it’s a little like comparing apples and oranges. The whipped cream gives the filling a creamy texture that’s fluffier than dense baked cheesecakes. It’s still rich, but more mousse-like. I find that a lot of folks prefer the lighter texture of these no-bake cheesecakes.
No oven required. As you’ve probably guessed from the name, no-bake cheesecakes do not require any baking time, making them perfect for hot summer days or when you’re entertaining and oven space is at a premium! (I also love these no-bake peanut butter bars and this chocolate tart recipe when I want to avoid the oven.)
Versatile flavors. You can switch up this recipe with your favorite add-ins and toppings and make it your own—or set out a tray with a few different flavor options at a party.
Ingredient Notes
- Graham crackers: Each mini cheesecake has an easy graham cracker crust on the bottom. You can crush your own graham crackers (it’s easy!) or buy a package of graham cracker crumbs at the grocery store. I find that the DIY method yields coarser, more flavorful crumbs.
- Granulated sugar: When combined with the melted butter, sugar helps hold the crust together. You don’t need a lot, just ¼ cup.
- Unsalted butter: Melted butter binds the crumbs together to form the crust. When the crust is chilled, the butter firms up and so does the crust!
- Heavy cream: Whipped cream is an essential part of the filling. The heavy cream will whip best if it’s well-chilled. Don’t take it out of the refrigerator ahead of time.
- Cream cheese: In contrast to the heavy cream, the cream cheese should be taken out of the refrigerator ahead of time to soften. You’ll need two 8 oz. blocks of regular cream cheese, not lowfat or Neufchâtel cream cheese which has a softer consistency.
- Powdered sugar: Powdered sugar “melts” into the filling. Regular granulated sugar would have a more grainy texture.
- Freshly squeezed lemon juice: We tested this recipe both with and without lemon juice. For that signature cheesecake tanginess, we highly recommend including it.
- Vanilla extract: I recommend pure vanilla extract, not imitation, for the best flavor.
- Garnish options: Berries, pie filling, whipped cream, or chocolate shavings.
How to Make No-Bake Mini Cheesecakes


Form the graham cracker crumbs. If you’re using graham crackers, place them in a food processor and pulse until fine crumbs form.
Cooking Tip
If you don’t have a food processor, simply place the crackers in a large sturdy resealable bag. Zip it closed, removing as much air as possible. Use a rolling pin or wine bottle to crush the crackers until they have the desired texture.
Mix the crust ingredients. Stir together the graham cracker crumbs, granulated sugar, and melted butter. When you pinch the mixture between your thumb and forefinger, it should hold together.


Make the crust layer. Line a muffin pan with paper or foil liners and lightly press a heaping tablespoon of the crust mixture into each cup. I find that it helps to use the back of a spoon or the bottom of a small measuring cup. Put the pan(s) into the refrigerator while you make the filling, so the crust starts to firm up.


Make the whipped cream. Use an electric mixer to whip the heavy cream until it forms stiff peaks. What are stiff peaks? When you lift the beaters, the whipped cream stands straight up and the tips don’t fold over.
Beat the remaining ingredients. In another mixing bowl, beat the cream cheese, powdered sugar, lemon juice, and vanilla extract until smooth and well-blended.


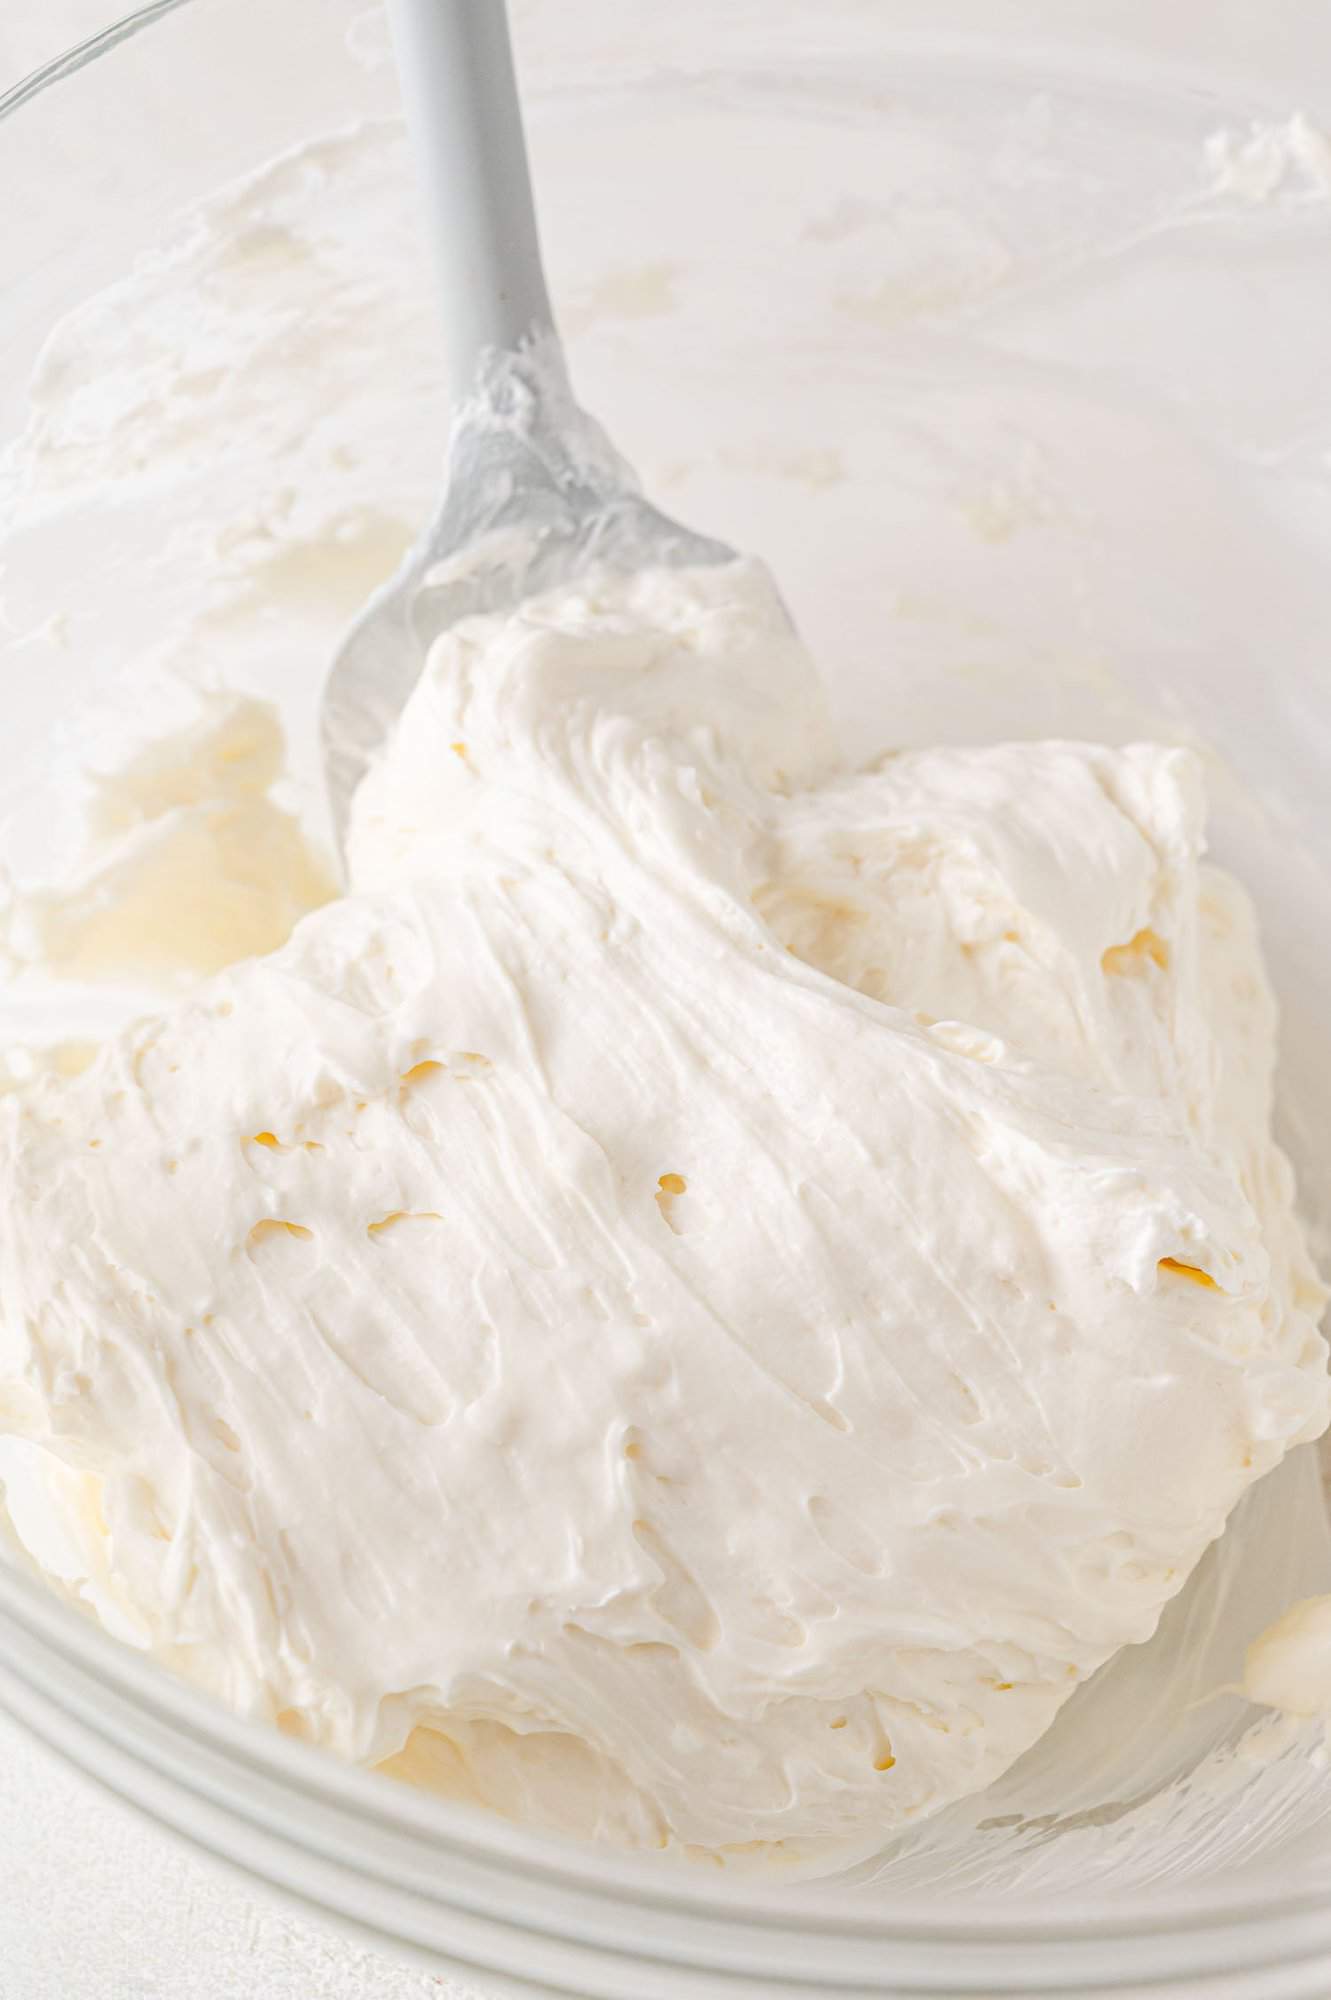
Combine. Gently fold the whipped cream into the cream cheese mixture, being careful not to overmix. The whipped cream should be blended into the cream cheese mixture but if you stir it vigorously, it will begin to deflate.


Assemble. Spoon the filling evenly onto the crusts. I’ve found that a cookie scoop works well to do this. Smooth the tops a bit. Chill for at least 2 hours.


Serve. Remove the no-bake mini cheesecakes from the pan. I usually peel the paper liners off but that’s totally up to you. Garnish with desired toppings, then serve.

Recipe Variations
Adjust the size. You can make bite-sized no-bake cheesecakes in a mini muffin pan, or serve them in shot glasses for a fancier presentation.
Make no-bake cheesecake parfaits. Instead of assembling in a muffin pan, use decorative glasses. I like to use a straight-sided whiskey old-fashioned glass. Add the crust, then cheesecake filling, then berries, and then repeat crust/cheesecake/berries for a pretty parfait appearance. You’ll end up with fewer servings, depending on the size of the glasses and how much you put in them.
Make a lemon berry version. Add a sweet and flavorful layer with raspberry jam or preserves like these lemon berry cheesecakes; to amp up the lemon flavor, add lemon zest to the cheesecake filling.
Make ahead: I don’t recommend making these no-bake mini cheesecakes more than a day in advance for a party; while they do last longer in the fridge, they taste best within 24 hours of assembling.
Refrigerate: Store leftover no-bake mini cheesecakes in an airtight container in the refrigerator for up to 3 days.
Freezer: Freeze these cheesecakes in an airtight container for up to 3 months. Let them thaw in the refrigerator before serving. If you’re making these to freeze for later, I recommend leaving off the toppings and adding them after thawing.
Prevent your screen from going dark
Optional garnishes/toppings:
For the crust:
Place graham crackers in the bowl of a food processor; process the crackers until they are fine crumbs (see note). You should have 2 cups of crumbs.
18 whole graham crackers
In a small mixing bowl, combine the graham cracker crumbs, granulated sugar, and melted butter. Stir until the mixture resembles wet sand and holds together when pressed.
¼ cup granulated sugar, 8 tablespoons unsalted butter, melted
Line 24 cups of a muffin pan with paper or foil liners. Spoon a heaping tablespoon of the crust mixture into each liner. Use the back of a spoon, your fingers, or the bottom of a measuring cup to press the mixture firmly into the bottom of each liner.
Place the crusts in the refrigerator to firm up while you prepare the filling.
For the filling:
In a large mixing bowl, with an electric mixer, whip the chilled heavy cream until stiff peaks form.
1 cup heavy cream, chilled
In a separate mixing bowl, beat the softened cream cheese, powdered sugar, lemon juice, and vanilla extract until smooth and creamy.
16 ounces (2 packages) cream cheese, softened, ½ cup powdered sugar, 2 teaspoons freshly squeezed lemon juice, 1 teaspoon pure vanilla extract
Gently fold the whipped cream into the cream cheese mixture until well-combined and smooth.
Remove the muffin pan from the refrigerator. Spoon the cheesecake filling evenly over the crust in each liner, filling them almost to the top. I like to use a cookie scoop. Smooth the tops of the mini cheesecakes with a spatula or the back of a spoon.
Place the muffin pan in the refrigerator and chill the mini cheesecakes for at least 2 hours, or until firm.
Once chilled, remove the cheesecakes from the muffin tin. The paper liners can be left on or carefully removed if you prefer. Serve immediately or refrigerate the mini cheesecakes (without toppings) in a covered container until ready to serve.
To serve, garnish the mini cheesecakes with your choice of fresh berries, pie filling, whipped cream, and/or chocolate shavings, if desired
- Graham cracker crumbs: If you don’t have a food processor, put the crackers in a sturdy resealable bag. Seal it, removing as much air as possible. Use a rolling pin or wine bottle to crush the crackers inside the bag. You can also purchase graham cracker crumbs but we found that they weren’t as flavorful.
- Storage: Cheesecakes will keep in the refrigerator in a covered container for up to 3 days but they are best if eaten within 24 hours. They can be frozen in a freezer safe container for up to 3 months. Thaw in the refrigerator before serving.
- Recipe retested and revised 11/2024. Previously posted as Pink Lemonade No-Bake Mini Cheesecakes.
Serving: 1cheesecake without toppings, Calories: 150kcal, Carbohydrates: 14g, Protein: 4g, Fat: 9g, Saturated Fat: 5g, Polyunsaturated Fat: 0.4g, Monounsaturated Fat: 2g, Trans Fat: 0.2g, Cholesterol: 24mg, Sodium: 205mg, Potassium: 82mg, Fiber: 0.4g, Sugar: 8g, Vitamin A: 272IU, Vitamin C: 0.2mg, Calcium: 82mg, Iron: 0.5mg
Nutrition information is automatically calculated, so should only be used as an approximation.

