Easy Dinner Rolls
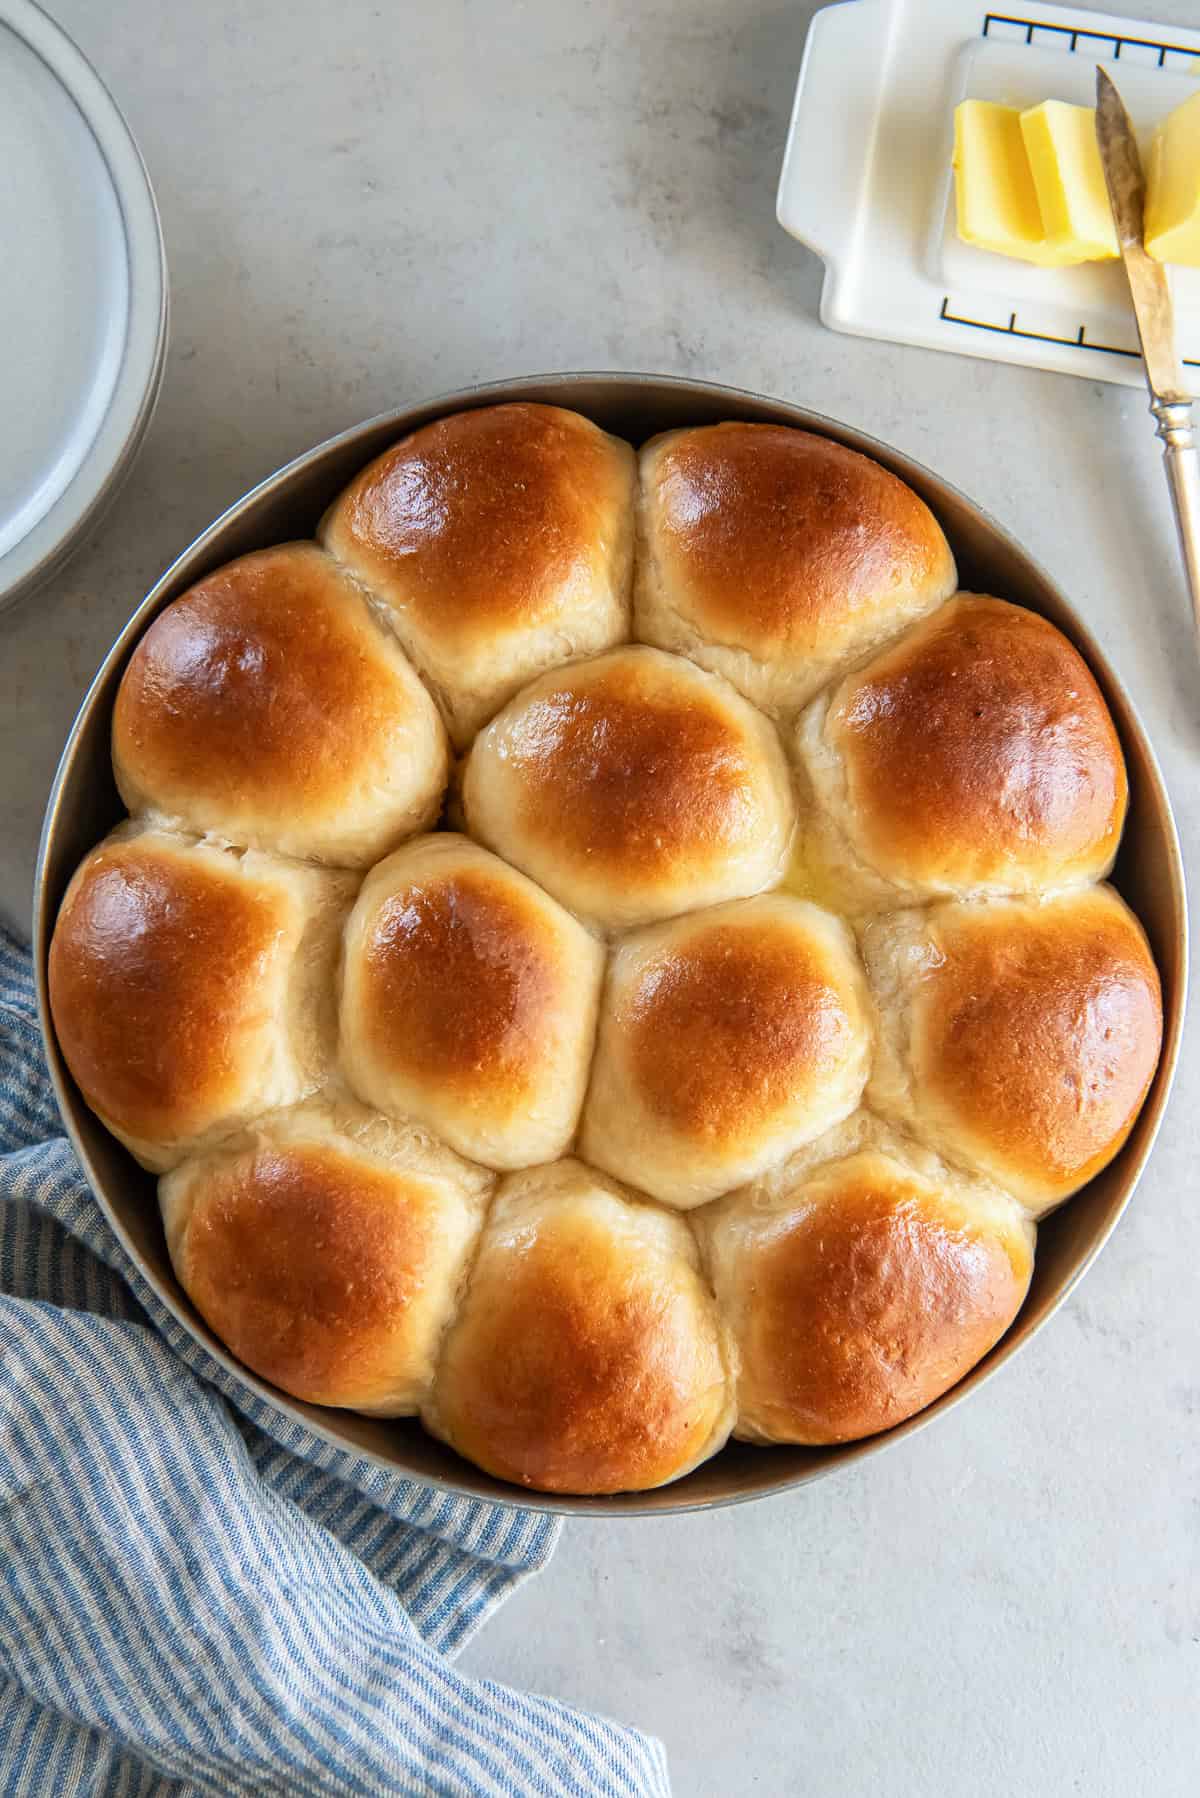
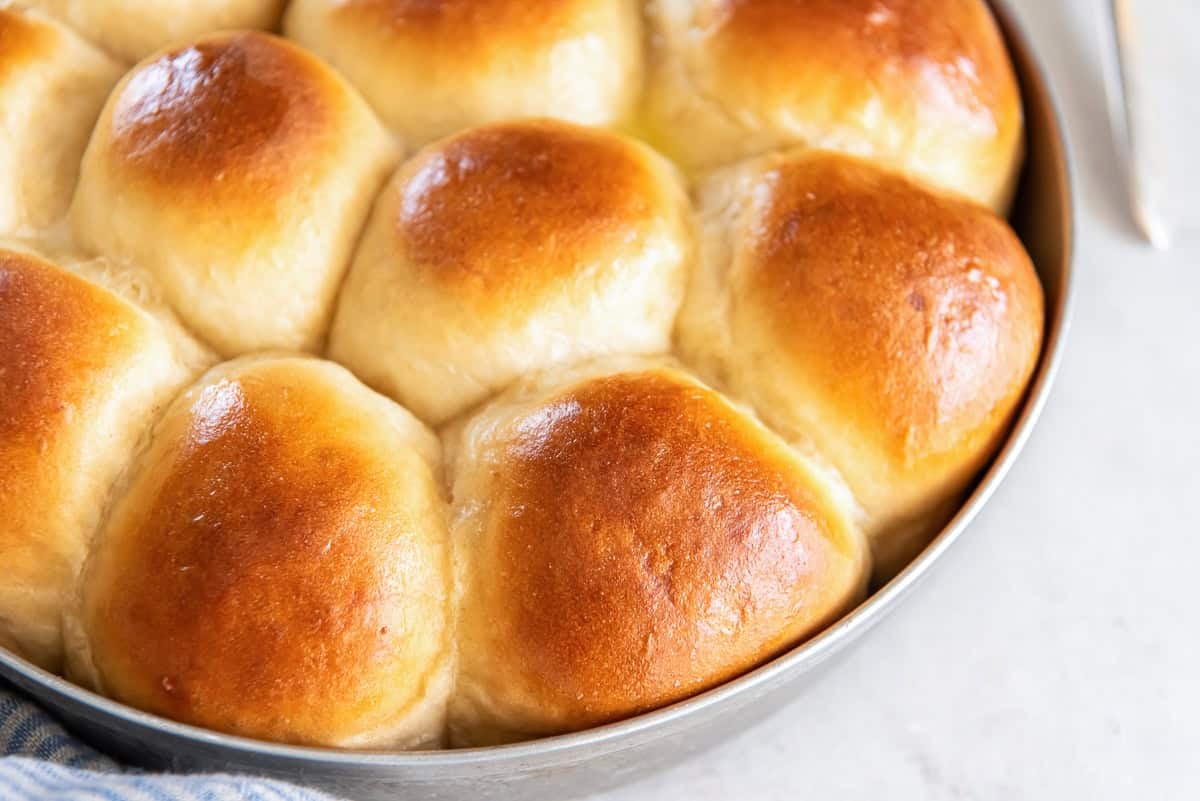
These Easy Dinner Rolls bake up golden brown with an incredibly soft and fluffy texture. You don’t need a mixer, and there’s no kneading required for this foolproof yeast roll recipe.
For another super easy homemade roll recipe, check out my Cheddar Dinner Rolls.
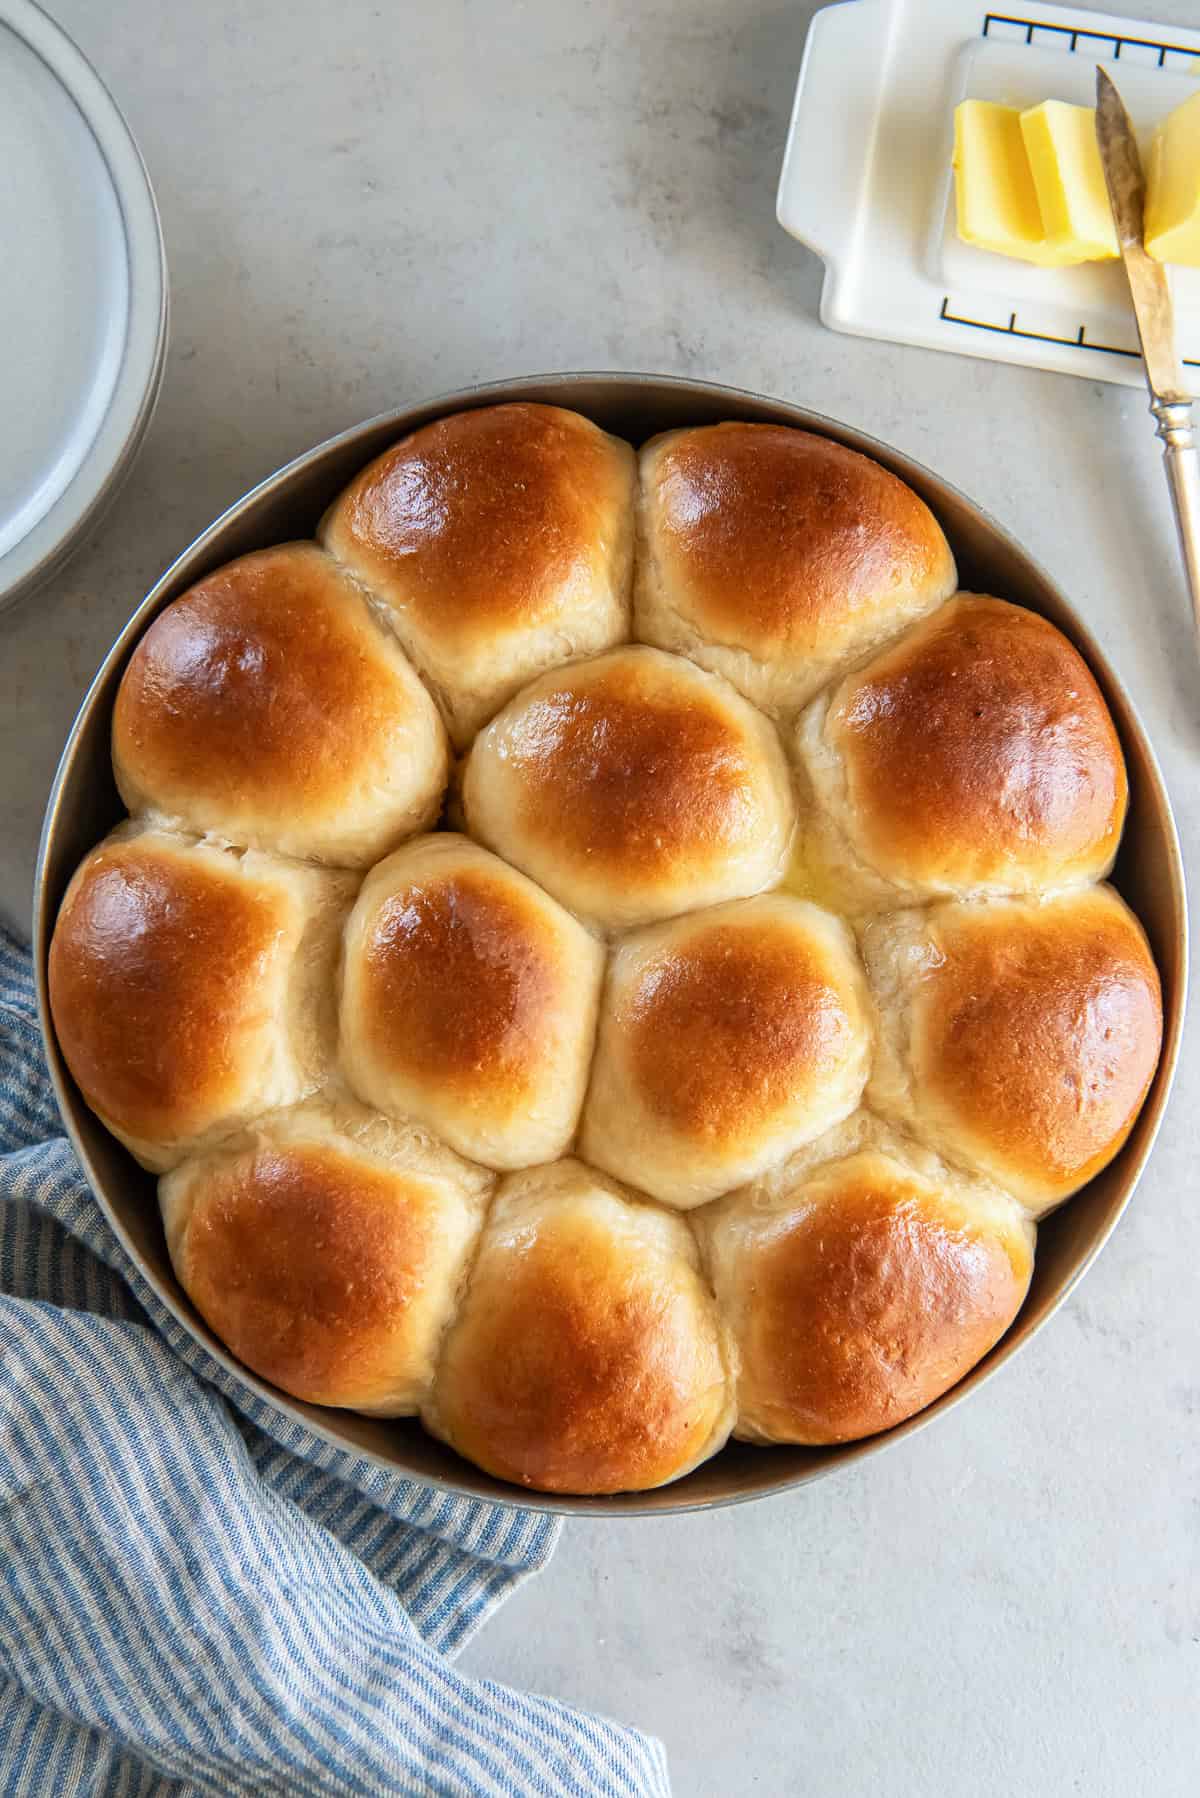
If you’ve struggled with baking dinner rolls from scratch, you are in the right place. This easy dinner roll recipe is the perfect choice for even the most inexperienced baker who has never worked with yeast dough.
It’s a simple stir and rise recipe and it results in the kind of homemade dinner rolls that may very well outshine the main course. And, the best part, they come together quickly and with less effort than most other recipes.
There are a few simple steps to ensuring perfect dinner rolls, and I’m laying it all out here for you.
Ingredient Notes
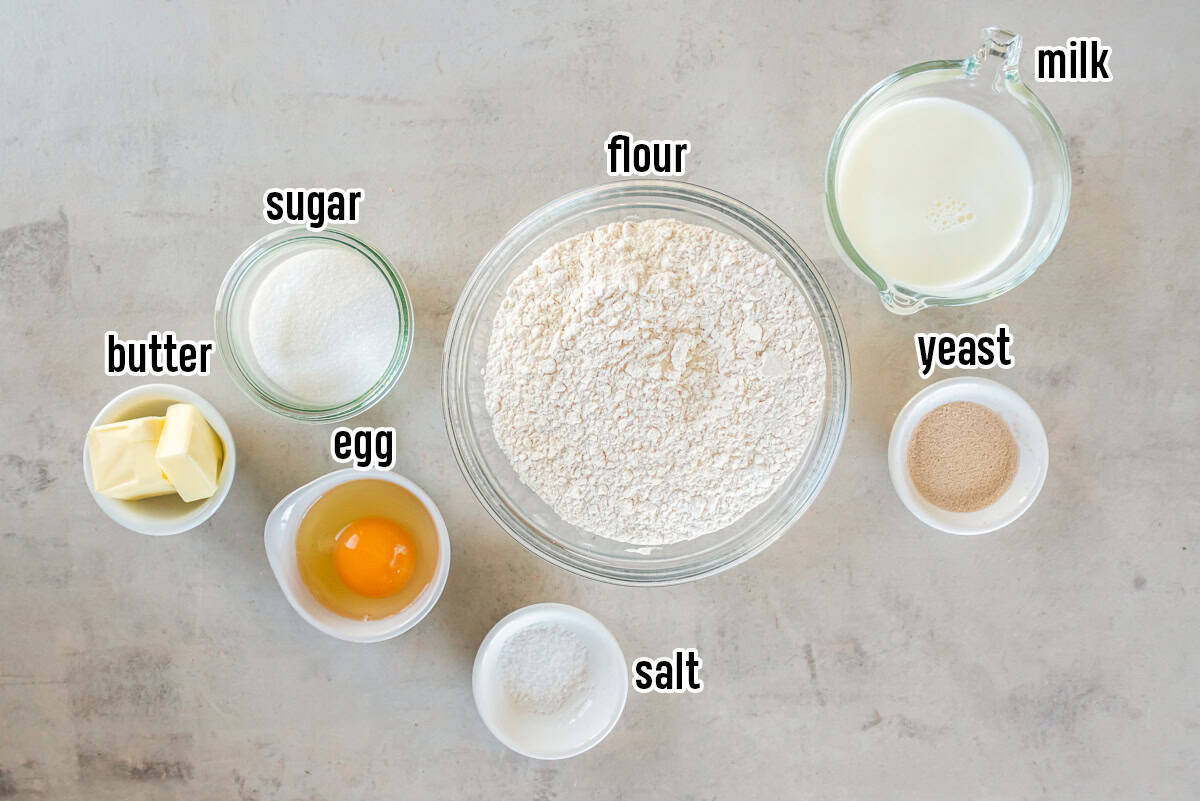
- Flour: This recipe calls for all-purpose flour, but the amount can vary. See the step-by-step instructions and my tips below for all the details.
- Yeast: Make sure you use instant yeast, also sold as “Rapid Rise Yeast” by Fleischmann’s (they are one and the same). Using instant yeast instead of active dry yeast will shorten the amount of time needed for your dough to rise.
- Sugar: Don’t be tempted to alter the amount of granulated sugar in this recipe. It is responsible for some important things like helping to activate the yeast, aiding in the gorgeous golden brown color, and balancing the flavors.
- Butter and egg: The dough is richened with melted salted butter and a beaten egg.
- Salt: While sugar feeds the yeast, a small amount of salt helps fine-tune the dough’s rise, flavor, and texture.
How to Make Easy Dinner Rolls
This is a quick overview of how to make this recipe. You’ll find detailed instructions in the recipe card at the end of this post.
Start the Dough
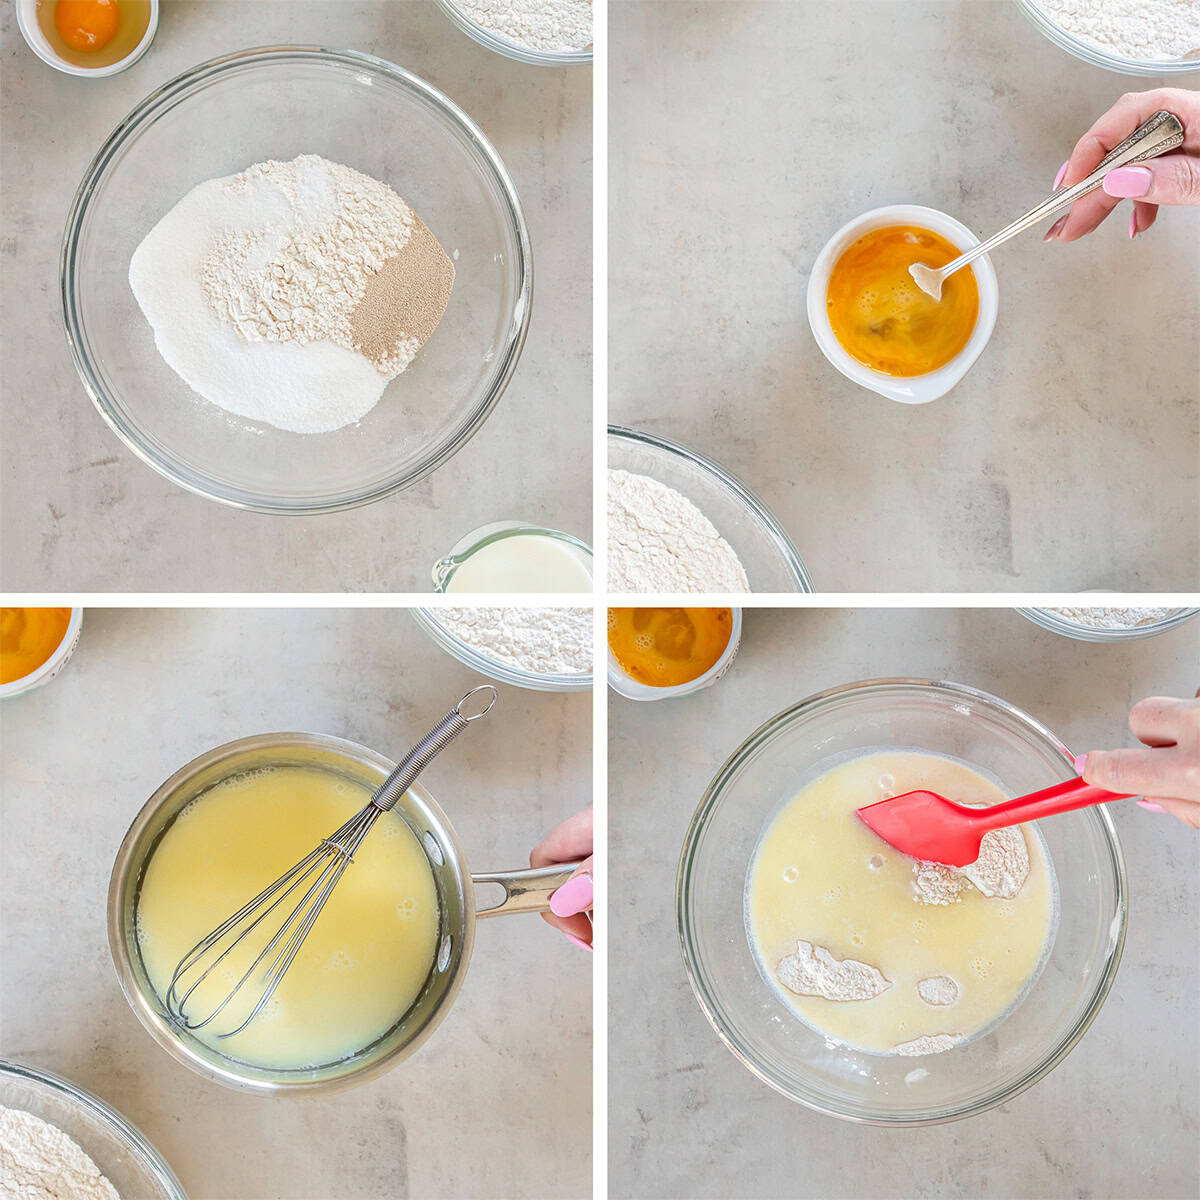
- In a large bowl, combine 1 cup flour, with the sugar, yeast, and salt and set it aside.
- Crack the egg into a separate small bowl and beat it lightly with a fork and set it aside.
- In a small saucepan, melt the butter. Add the milk and warm it for 1 minute or less, just until it reaches 120 to 130 degrees F. when tested with an instant read thermometer. It will reach this temperature quickly – if it surpasses it, just remove the pan from the heat and let it rest to cool down to the temperature range.
- Add the milk mixture to the dry ingredients, and stir until well combined.
Finish the Dough and Let it Rest
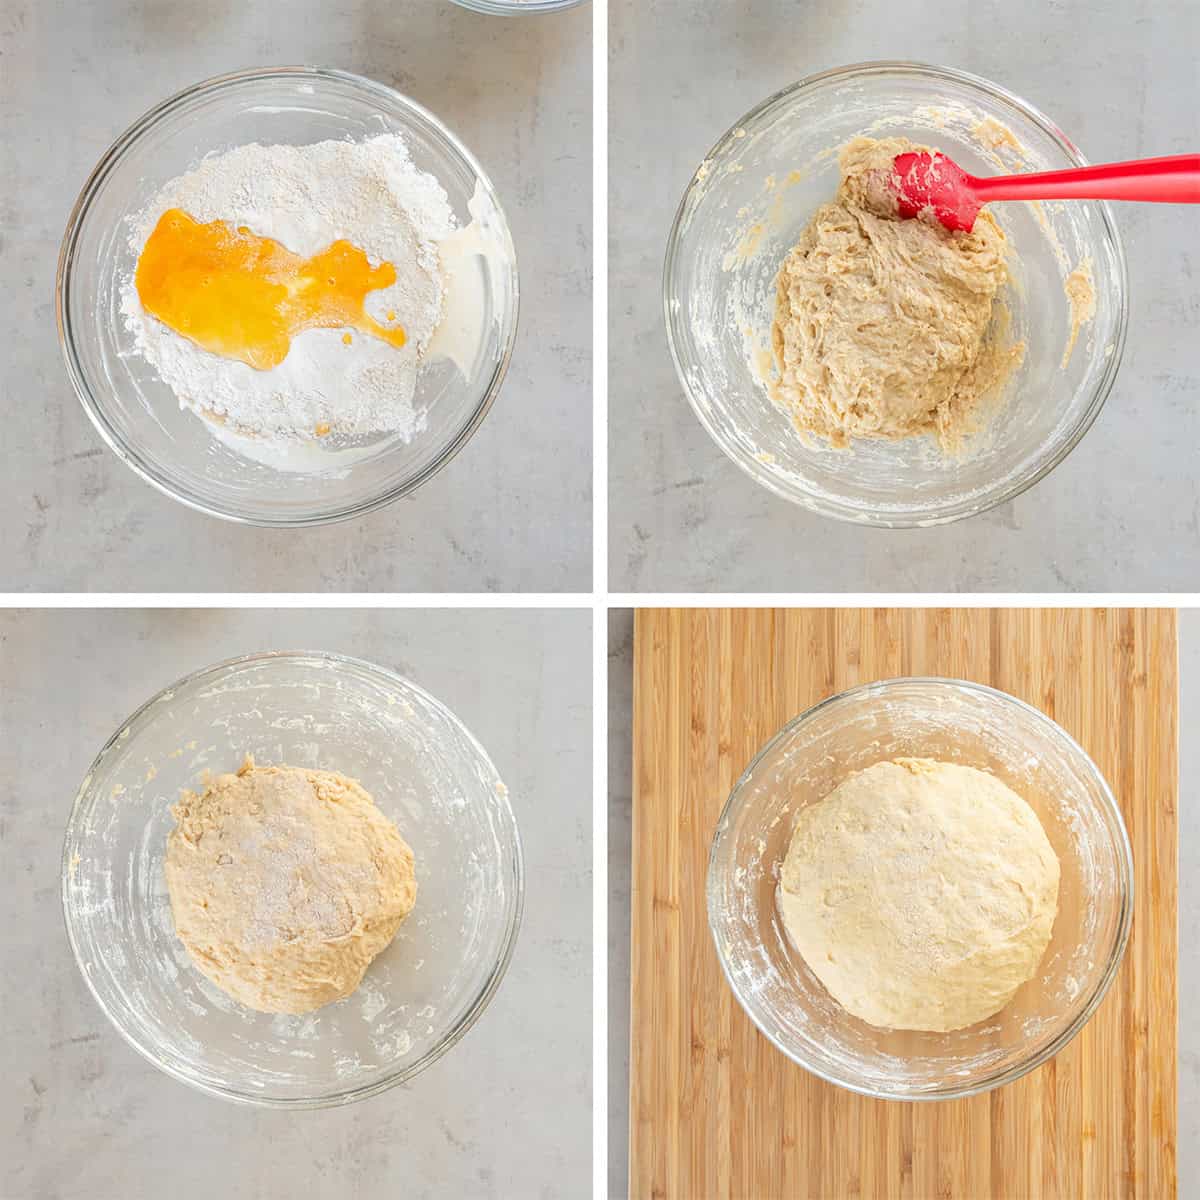
- Sprinkle ½ cup flour over the dough and then add the beaten egg.
- Stir again, then, add as much of the remaining flour as needed, in small increments, stirring until you have a soft, sticky dough. You may not need to use the entire amount of flour.
- When the dough is just beginning to hold together in a ball but is still very sticky, coat your hands with some flour and gather the dough up, form it into a neat ball, and set it back down into the bowl.
- Cover the bowl with a clean kitchen cloth and let the dough rest in a warm place for about 30 minutes. The first rise is more about letting the dough rest – it will rise slightly but probably less than double.
How to Shape the Rolls
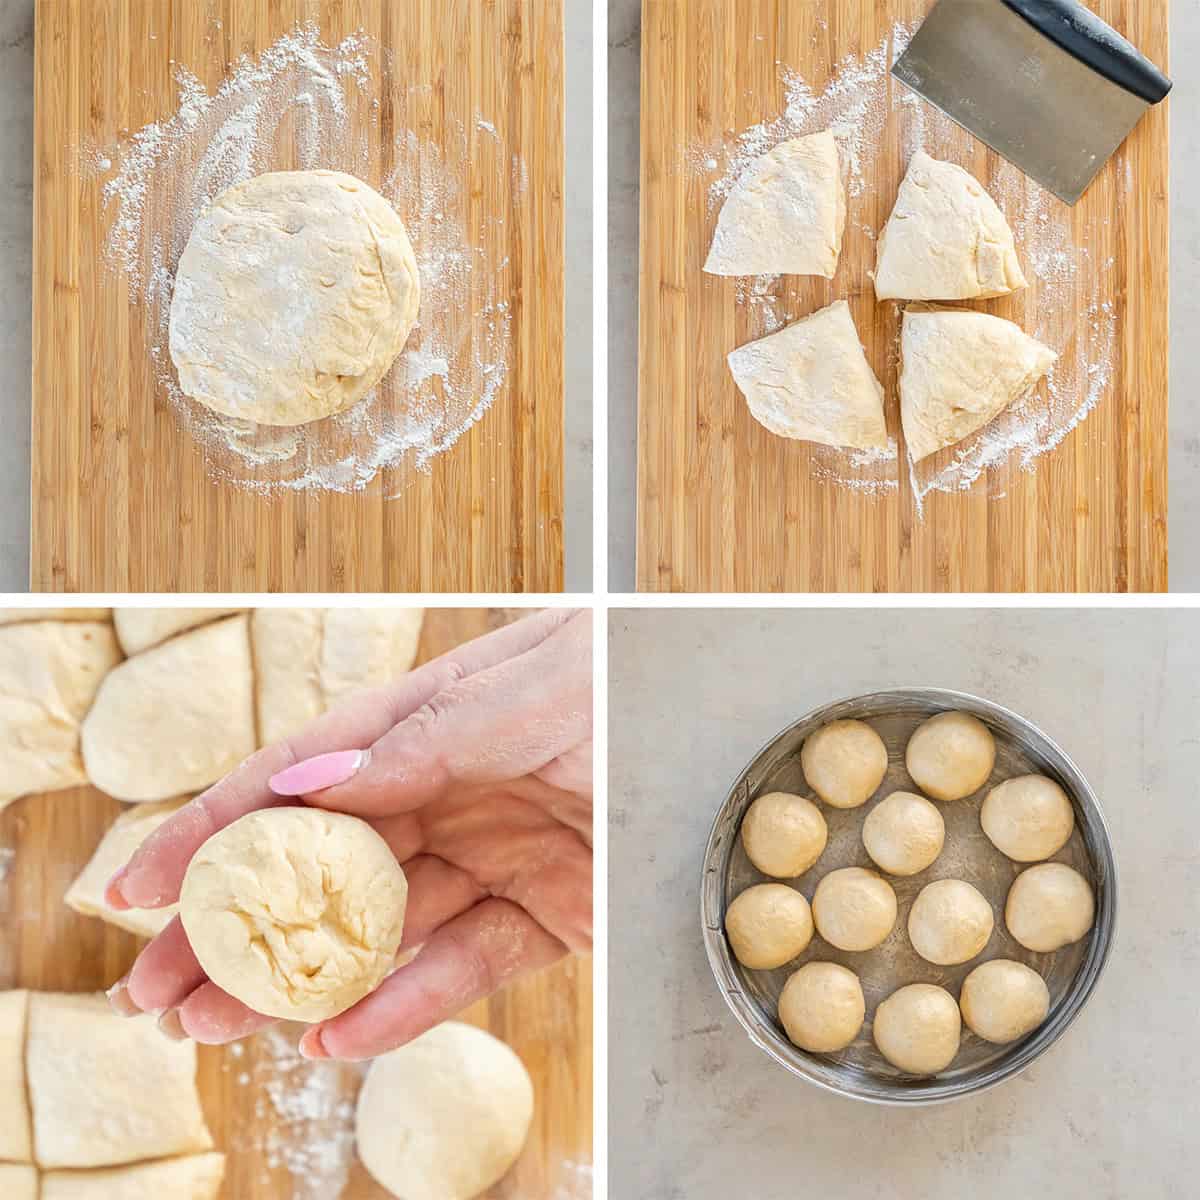
- Place the dough on a lightly floured board.
- Using a bench scraper or sharp knife, divide the dough into four equal portions.
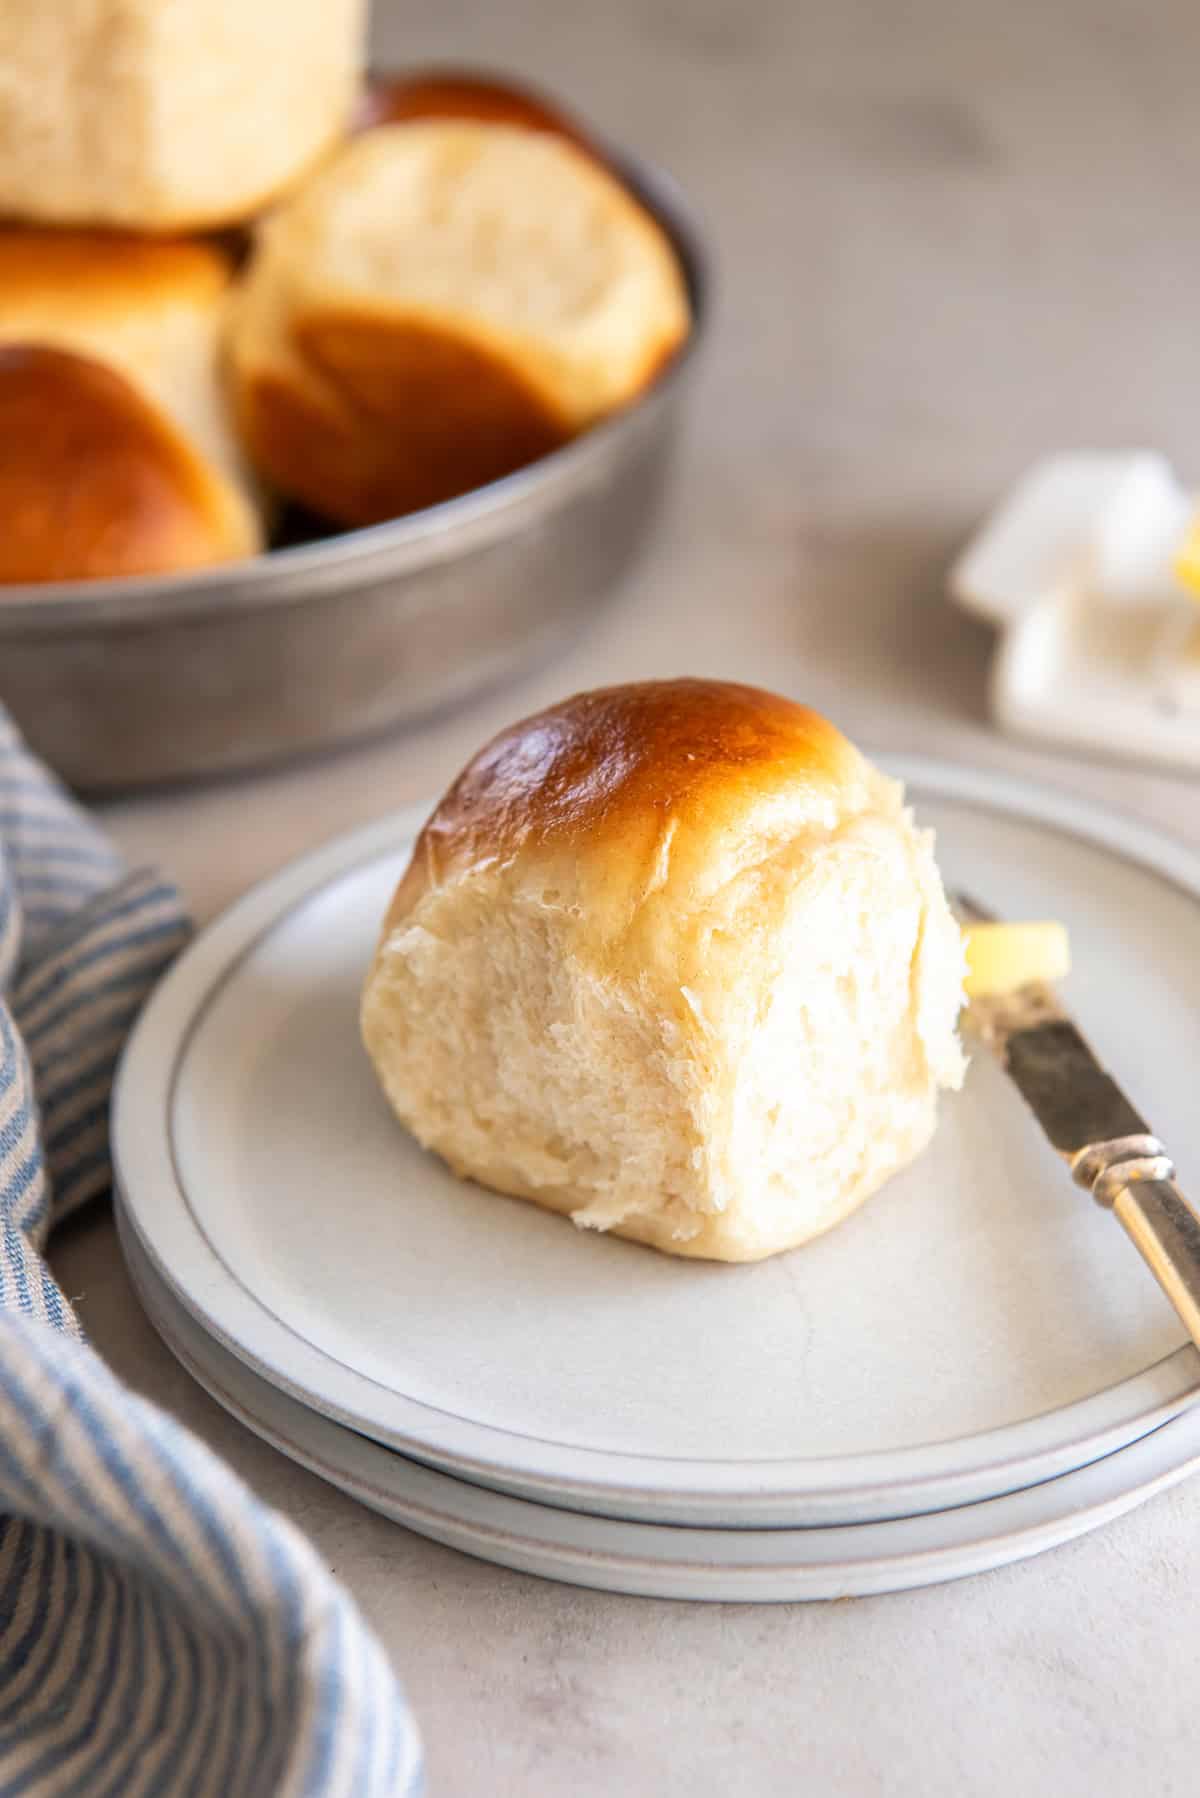
- Then, cut each portion into three equal pieces, for a total of 12. Shape them into smooth balls by pinching the edges and tucking them under (the pinched side of the roll is pictured above).
- Place the rolls, pinched side down, in a circular pattern in a greased 9-inch cake pan, leaving a little space between each ball.
Second Rise and Bake
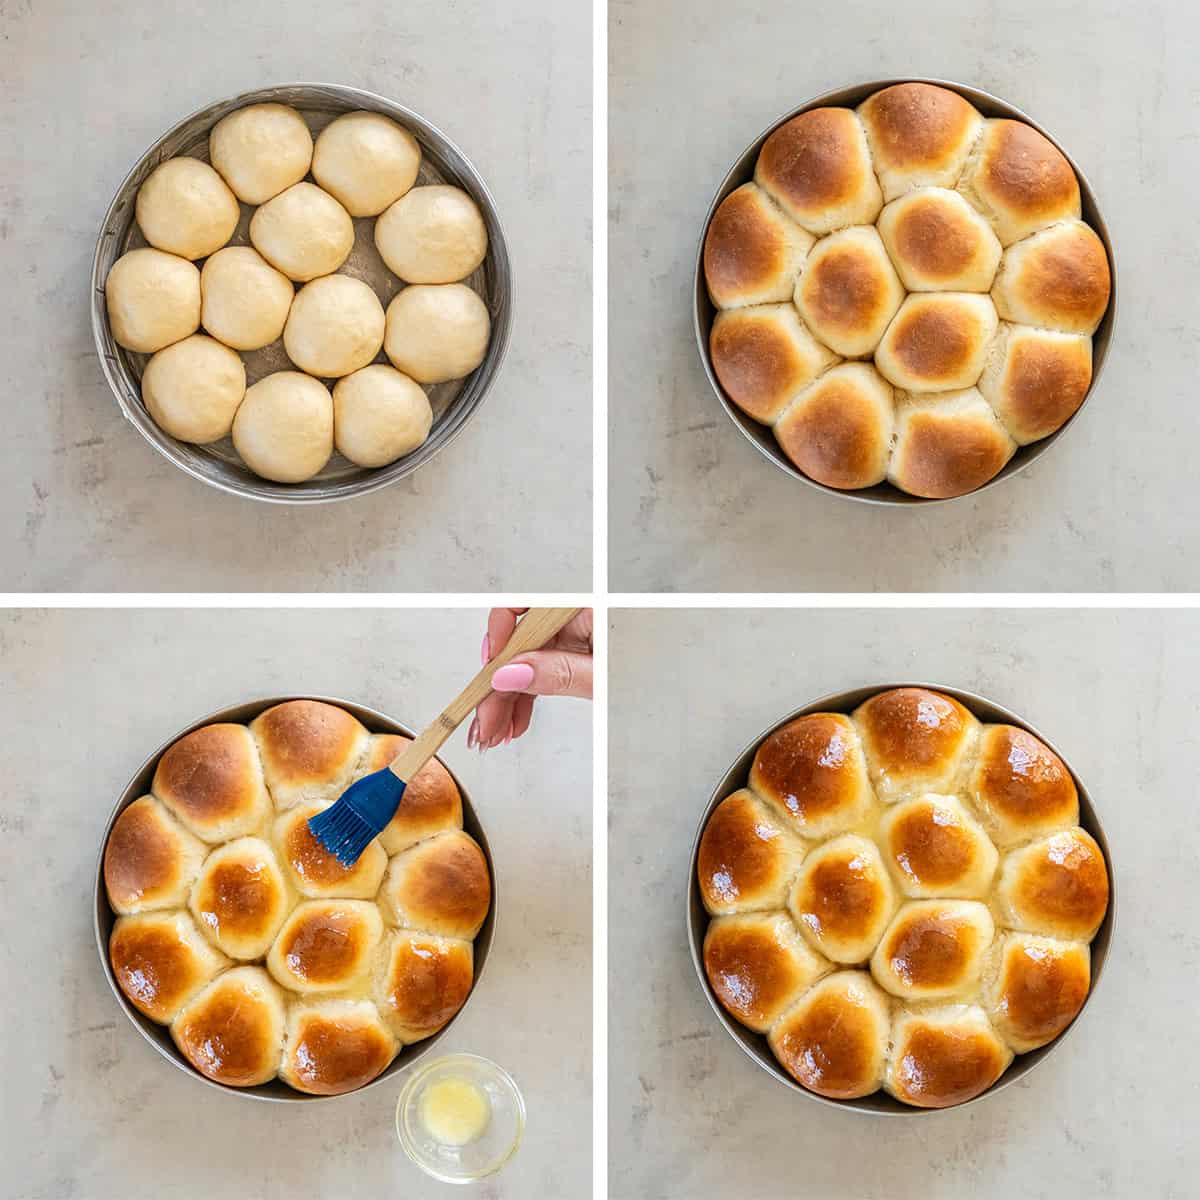
- Cover the pan with a clean kitchen towel and let the dough rise again for an additional 30 minutes. After the this 2nd rise, the balls of dough will have risen enough to fill the spaces between and they will be touching.
- Transfer the pan to the preheated oven and bake for 12 to 14 minutes or until golden brown.
- Remove the rolls from the oven and immediately brush the tops with melted butter.
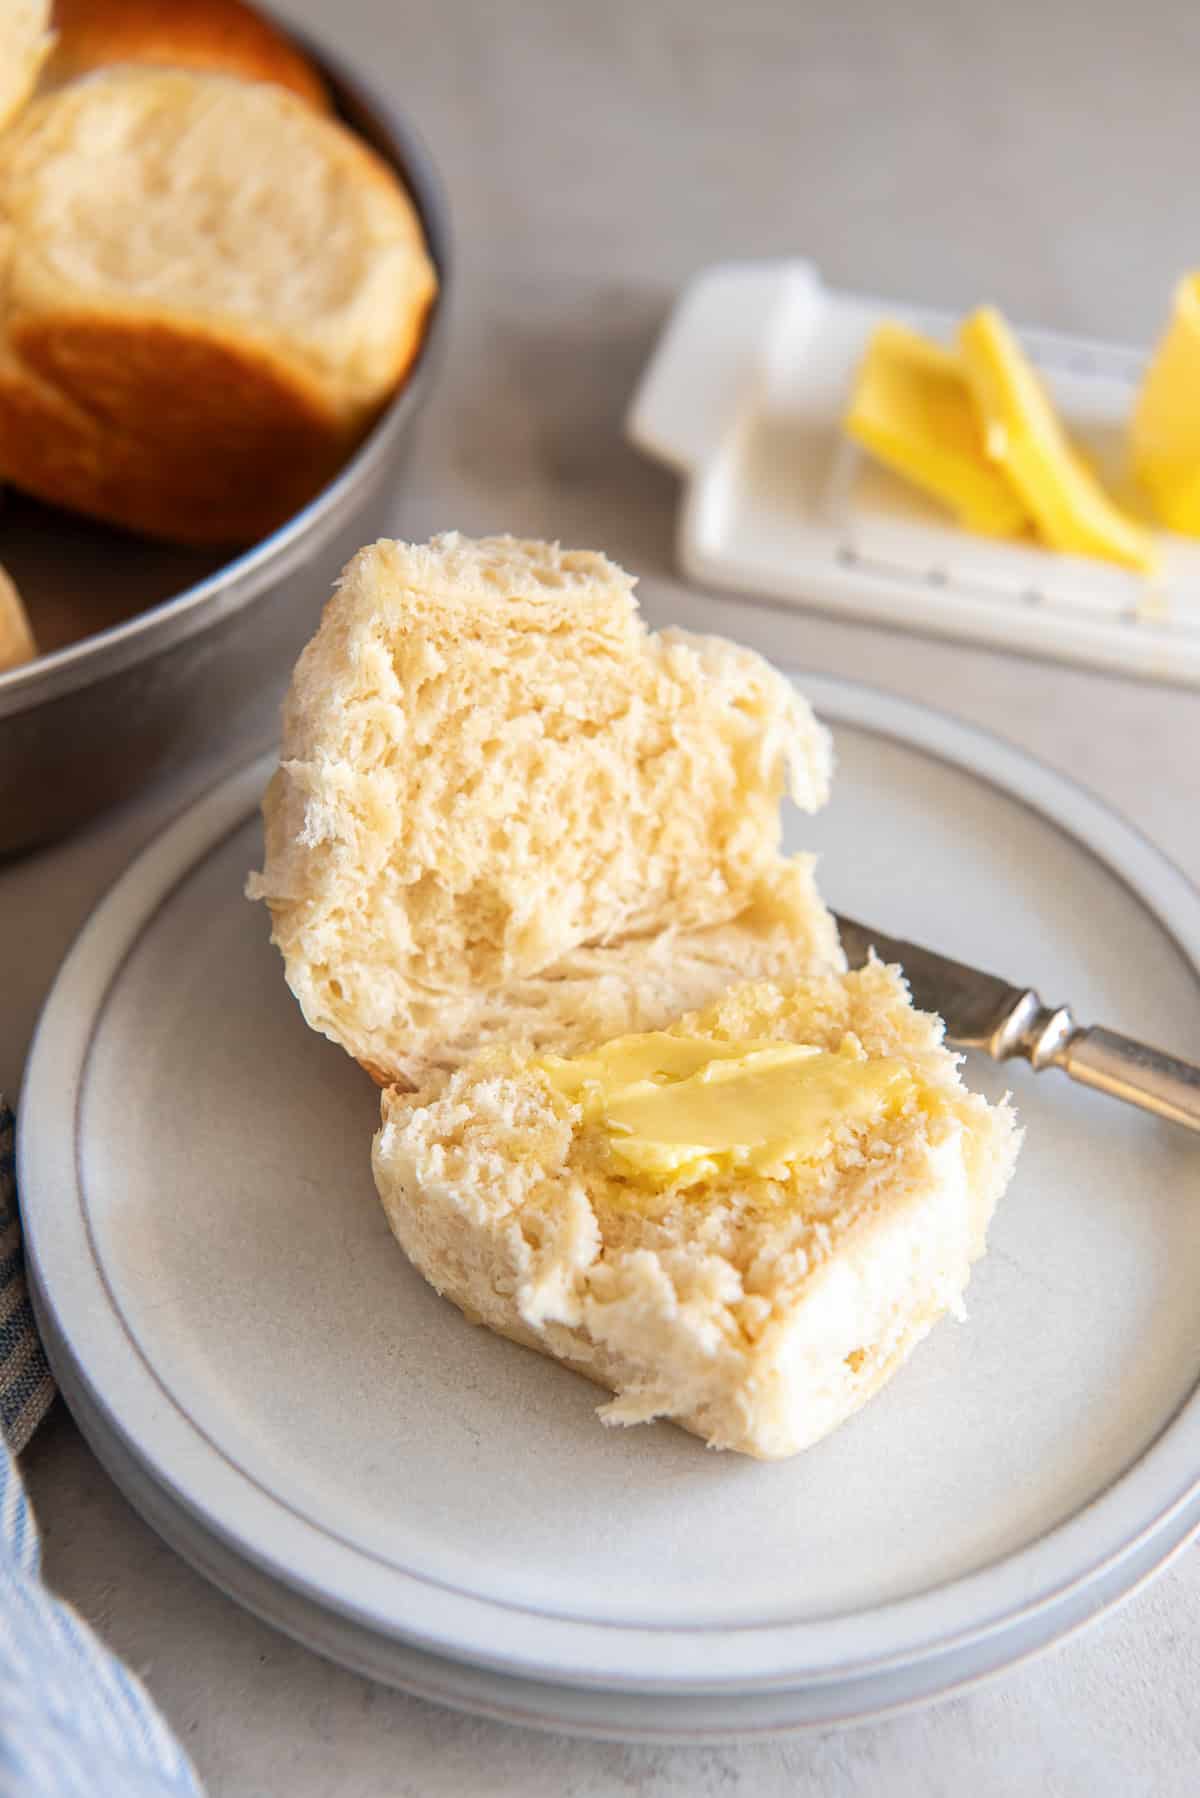
- They are wonderful served warm and spread with softened butter. Heavenly!
Tips for the Best Dinner Rolls
To proof or not to proof: Although techically instant yeast doesn’t require proofing, this recipe involves a simple step to ensure your rolls will rise properly. Liquid warmed to 120 to 130 degrees F is added directly to the dry mixture to help activate the yeast and kick-start the fermentation process. While this isn’t the traditional proofing method (where yeast is dissolved in a liquid first), the warm milk still allows the yeast to activate as it’s mixed into the dough.
Rest and rise time: Most no-knead dough recipes instruct you to allow the dough to rest and rise for at least 2 and up to12 hours. The extended rise time replaces the physical action of kneading, allowing the dough to achieve the soft and fluffy texture we’re all striving for. But with this recipe, I’ve found that allowing the dough to rest for just 30 minutes before shaping it into rolls and then for another 30 minutes to 45 minutes after, is all it needs.
Even size rolls: You want to try and make the rolls as close in size, as possible, to ensure they will bake evenly. The bench scaper technique of dividing the dough I illustrated above is the best way to do this. If when rolling, one roll feels heavier than the others, you can pinch a bit off and add to one or more of the others.
Shaping dinner rolls: For round rolls with a smooth top, use the “pinch and tuck” method. Take each piece of dough and begin to shape it into a ball, then pinch the edges of the dough and pull them down and tuck them under the bottom of the ball. Place them seam or pinched side down and the tops will bake up smooth and pretty.
Browning and butter: Check on the rolls towards the end of the baking time and if they are browning more than you’d like, lightly tent a sheet of foil over the top. I don’t recommend brushing them with butter until after the end of the baking time because that would encourage even deeper browning, which is not needed here. Just lightly brush them with butter once they come out of the oven for that lovely, glossy finish.
Make-Ahead Instructions
If you want to get the bulk of the work done a day in advance, just follow the instructions below.
- Follow the recipe as directed, all the way through shaping the dough into rolls and placing them in the pan.
- Cover the pan with a sheet of plastic wrap and refrigerate the rolls overnight. The next day when you’re ready to bake them, remove the pan from the fridge and let it rest on the kitchen counter for about 30 to 45 minutes to take the chill off. Then, just bake as directed in the recipe.
Storage and Reheating Tips
Room Temperature: Store rolls in an airtight container or a zippered plastic storage bag at room temperature for up to 3 days.
Freezing: If you have more rolls than you can eat, freeze them! Wrap each roll tightly in plastic wrap, place them in a freezer-safe bag and freeze for up to 3 months.
Reheating: To bring them back to life, warm leftover rolls in the oven at 350 degrees F for 5 minutes, or until heated through. You can also microwave them for about 15 to 20 seconds.
Sign up for my free newsletter for all the latest recipes and join me on Facebook, Instagram and Pinterest for more cooking inspiration!
Easy Dinner Rolls
These Easy Dinner Rolls bake up golden brown with an incredibly soft and fluffy texture. You don’t need a mixer, and there’s no kneading required for this foolproof yeast roll recipe.
Servings: 12 rolls
Instructions
In a large bowl, combine 1 cup flour, sugar, yeast, and salt. Set aside.
Crack the egg into a separate small bowl and beat it lightly with a fork. Set aside.
In a small saucepan, melt 2 tablespoons butter over LOW heat. Add the milk and warm it for 1 minute or less, just until it reaches 120- to 130 degrees F. when tested with an instant read thermometer. It will reach this temperature quickly – if it surpasses it, just remove the pan from the heat and let it rest to cool down to the temperature range. Add to the dry ingredients, and stir with a wooden spoon or rubber spatula until well combined.
Sprinkle ½ cup flour over the dough and then add the beaten egg. Stir again until combined. Then, add as much of the remaining flour as needed, in small increments, stirring in between each addition, until you have a soft, sticky dough. You may not need to use the entire amount of flour. When the dough is just beginning to hold together in a ball but is still very sticky, coat your hands with some flour and gather the dough up, scraping off the sticky dough from the bottom and sides of the bowl. Use your hands to form it into a neat ball and set it back down into the bowl.
Rest the Dough/First Rise
Shape the Rolls
Coat a 9-inch round cake pan with softened butter or nonstick cooking spray.
Using a bench scraper or sharp knife, divide the dough into four equal portions. Then, cut each portion into three equal pieces, for a total of 12. Try to keep the pieces as evenly sized as possible. Shape them into smooth balls. Place them in a circular pattern in the greased pan (9 around the outside edge, 3 in the middle), leaving a little space between each ball.
Second Rise
Cover the pan with the kitchen cloth and let the dough rise again for an additional 30 minutes. After the this second rise, the balls of dough will have risen enough to fill the spaces between and they will be touching.
Bake
While the rolls are rising, preheat your oven to 375 degrees F.
Transfer the pan to the preheated oven and bake for 12 to 14 minutes or until golden brown. If the rolls are getting too brown, just tent lightly with a sheet of foil. While baking, melt the remaining 1 tablespoon of butter. Remove the rolls from the oven and immediately brush the tops with the melted butter. Serve warm.
Nutrition
Serving: 1 roll · Calories: 151 kcal · Carbohydrates: 25 g · Protein: 4 g · Fat: 4 g · Saturated Fat: 2 g · Polyunsaturated Fat: 0.3 g · Monounsaturated Fat: 1 g · Trans Fat: 0.1 g · Cholesterol: 24 mg · Sodium: 133 mg · Potassium: 61 mg · Fiber: 1 g · Sugar: 5 g · Vitamin A: 125 IU · Vitamin C: 0.03 mg · Calcium: 25 mg · Iron: 1 mg
Nutrition information is automatically calculated using generic ingredients, and is an estimate not a guarantee. For more accurate results, please refer to the labels on your ingredients at home.

