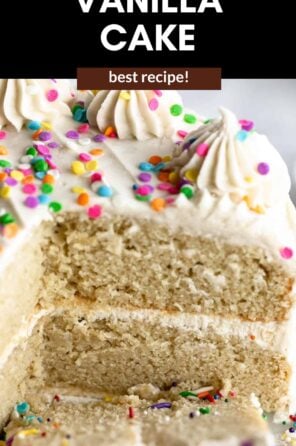
Gluten Free Vanilla Cake
This gluten free vanilla cake taste just like the classic! It has a moist and tender crumb, rich buttery vanilla flavor and finished off with a creamy vanilla buttercream. Dairy free friendly and made in one bowl!
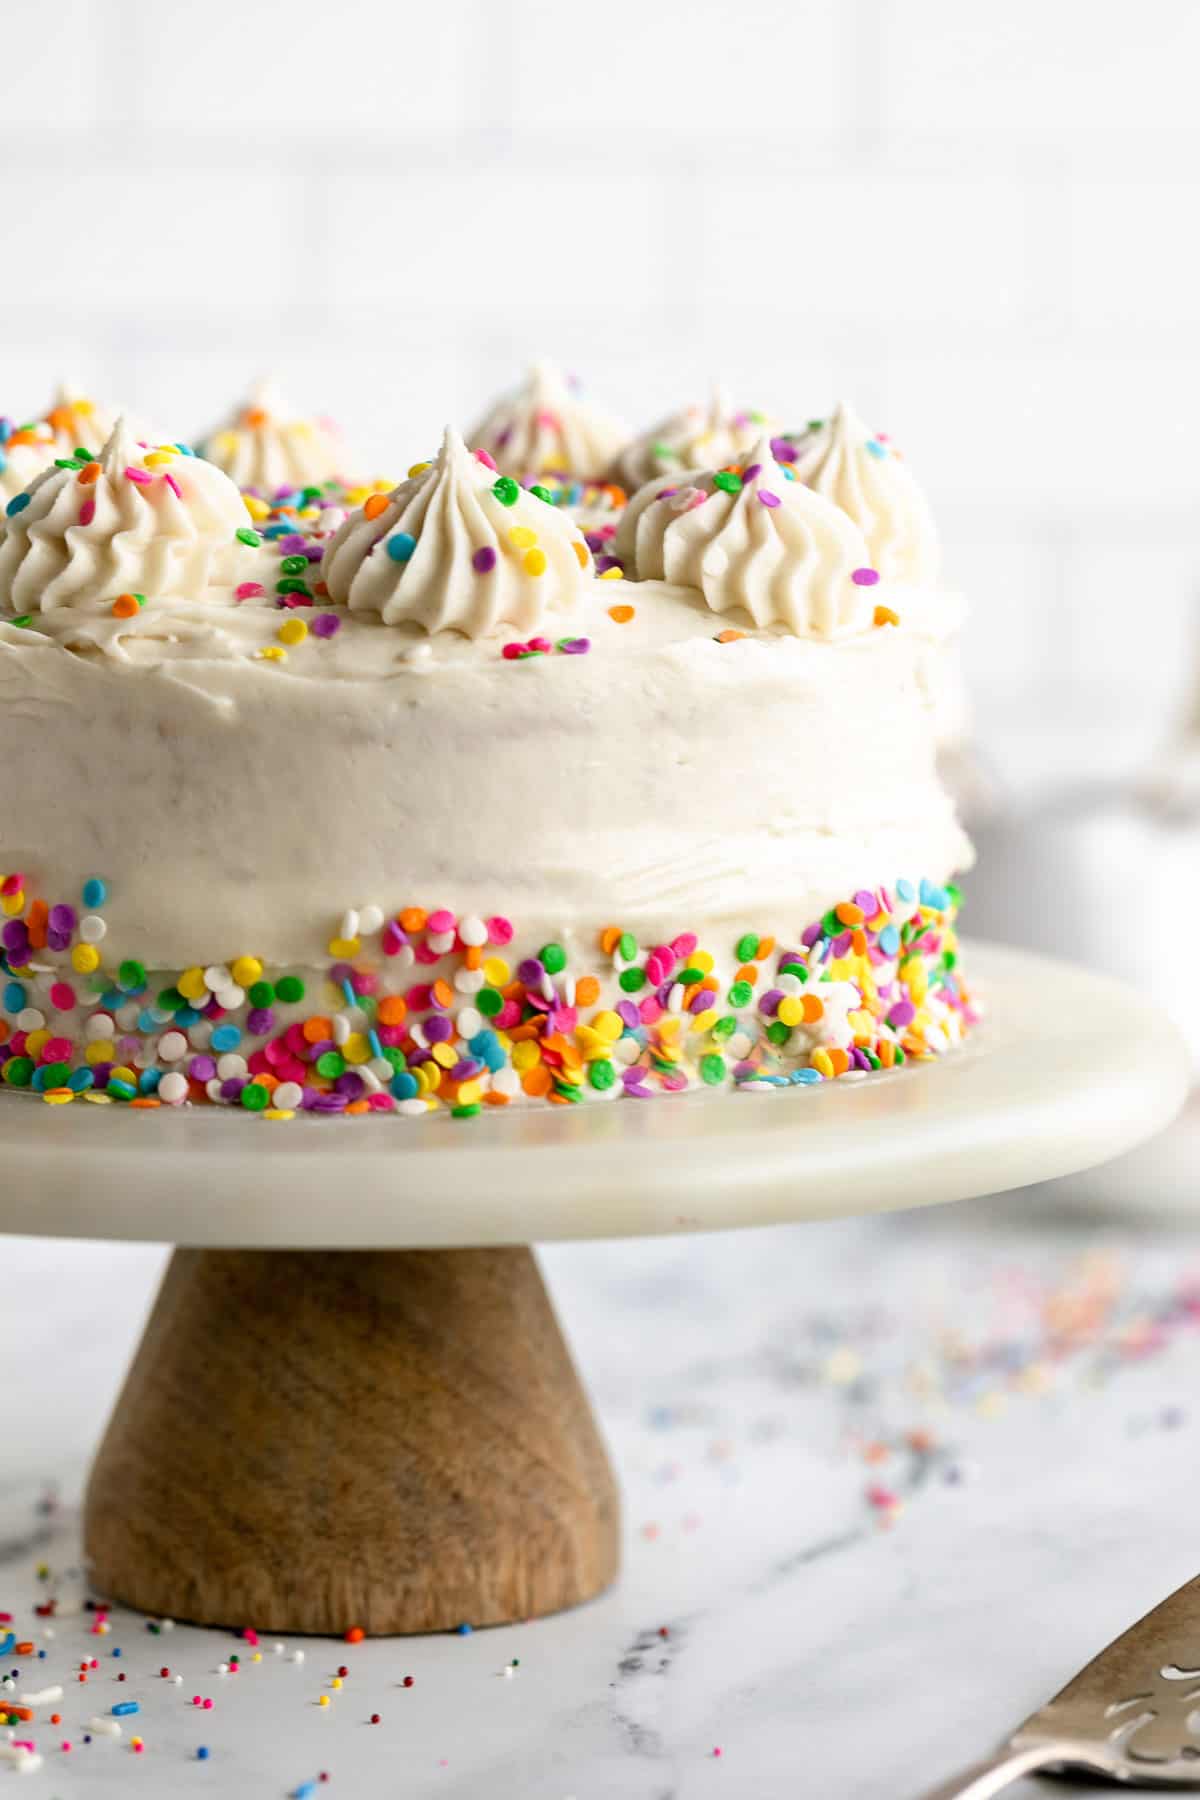
This gluten free vanilla cake has been a long time in the making. But vanilla cakes are one of my favorite desserts (plus gluten free lemon cake of course), so I had to get it exactly perfectly right.
And I did! This cake is moist, tender, soft with a sweet buttery vanilla flavor and undetectably gluten free.
I promise, you can fool absolutely anyone with this recipe. And did I mention it’s also dairy free?! Even the buttercream. But again, you’d never know! There are a lot of gluten free cake mixes on the market, but homemade versions are SO much better.
This recipe isn’t vegan since it uses eggs, but don’t worry, I already have you covered with my gluten free AND vegan vanilla funfetti cake. If you love this recipe, try my strawberry cake, gluten free cookie cake or orange cake next!
Before we get started…
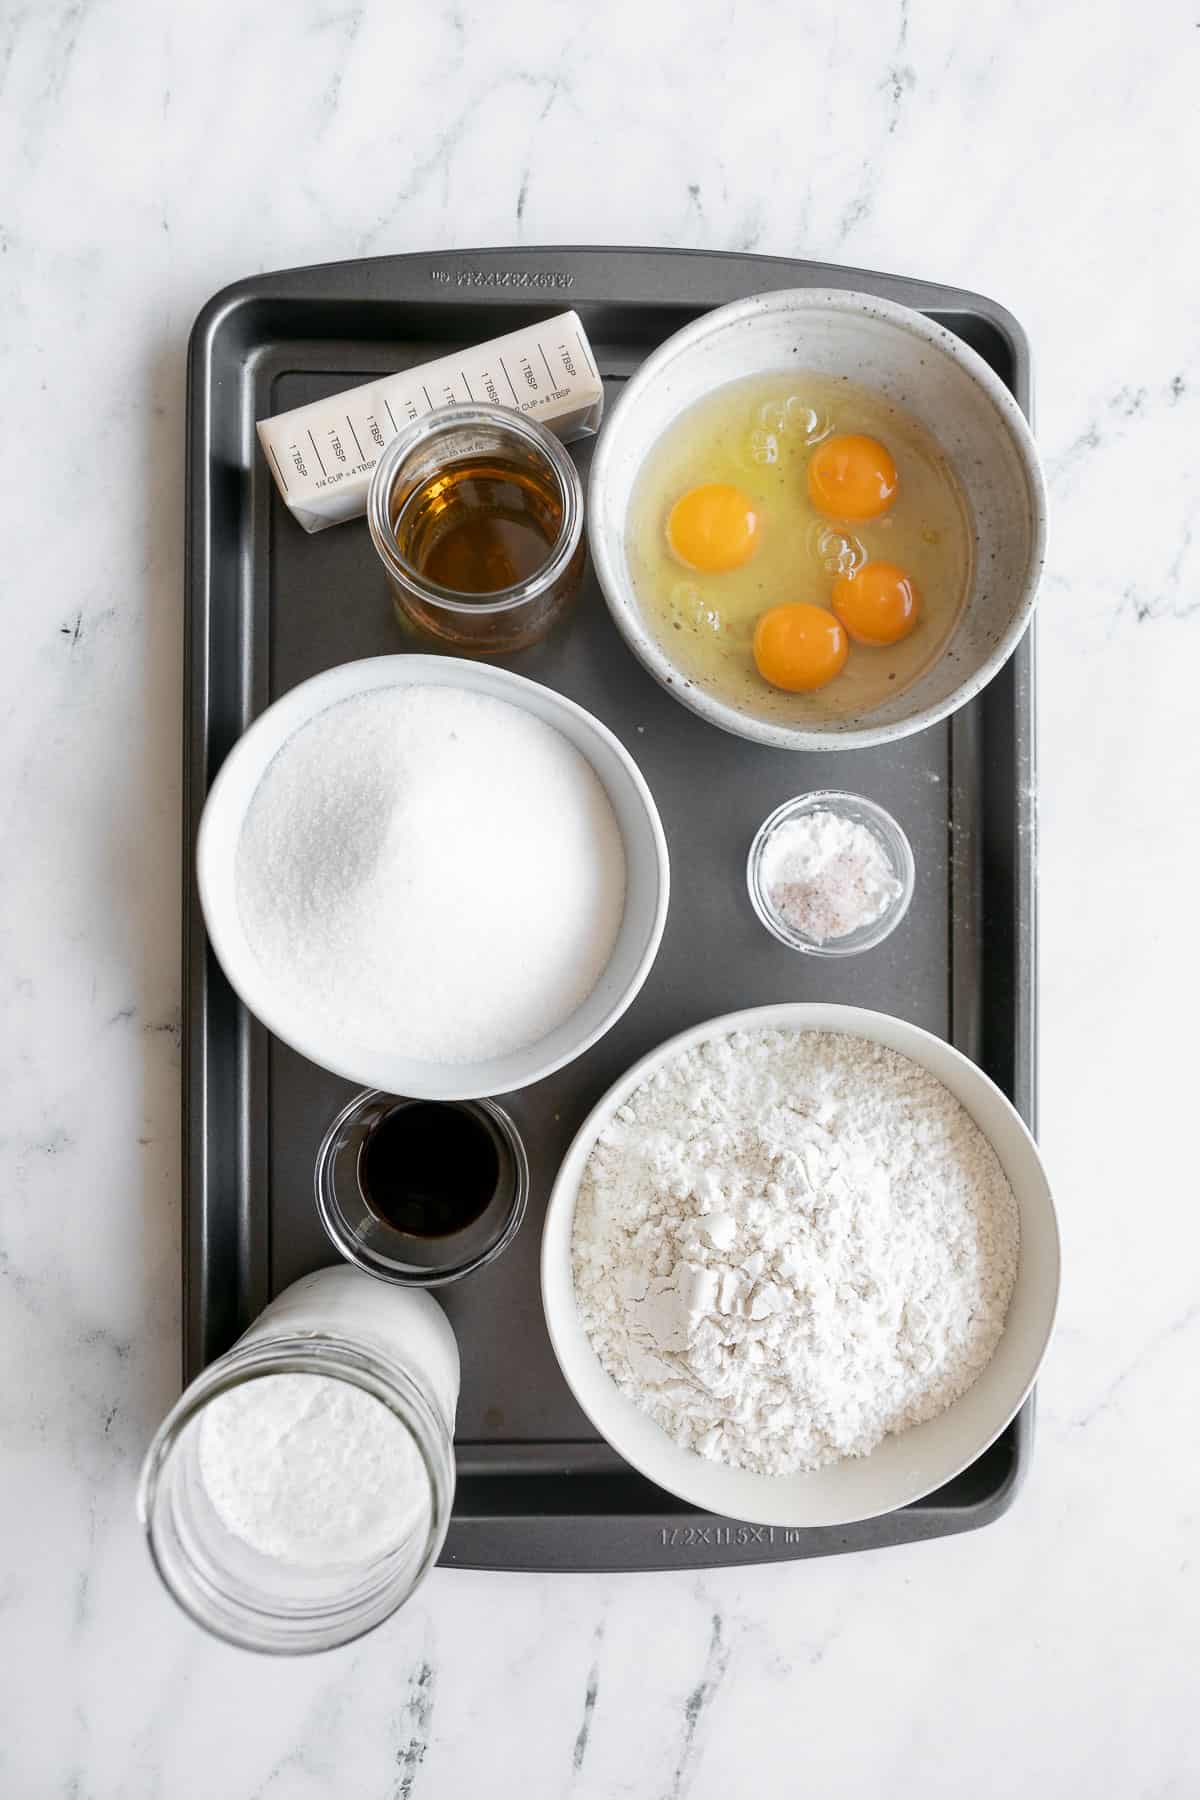
- You need gluten free all purpose flour with xanthan gum. I like and used the Bob’s Red Mill 1:1 Baking Flour.
- Room temperature eggs and milk work best!
- Be sure to let the cake cool completely before frosting.
How to make gluten free vanilla cake
PREP PANS. Spray and line two 9 inch round cake pans with parchment paper. You can also use two 8 inch but see notes about bake time etc.
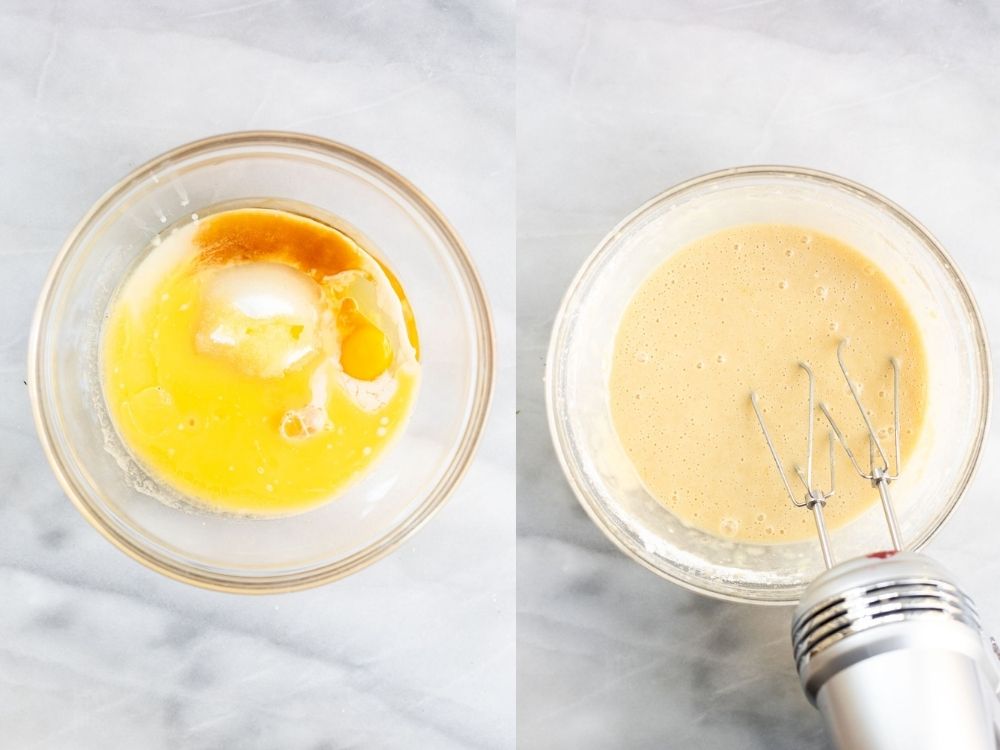
BEAT WET. In a large mixing bowl or bowl of a stand mixer, beat together all wet ingredients. For best results, keep your eggs and milk at room temperature and melt your butter, then let it cool slightly.
BEAT IN DRY. Beat in the dry ingredients until a smooth batter forms, making sure to spoon and level the flour.
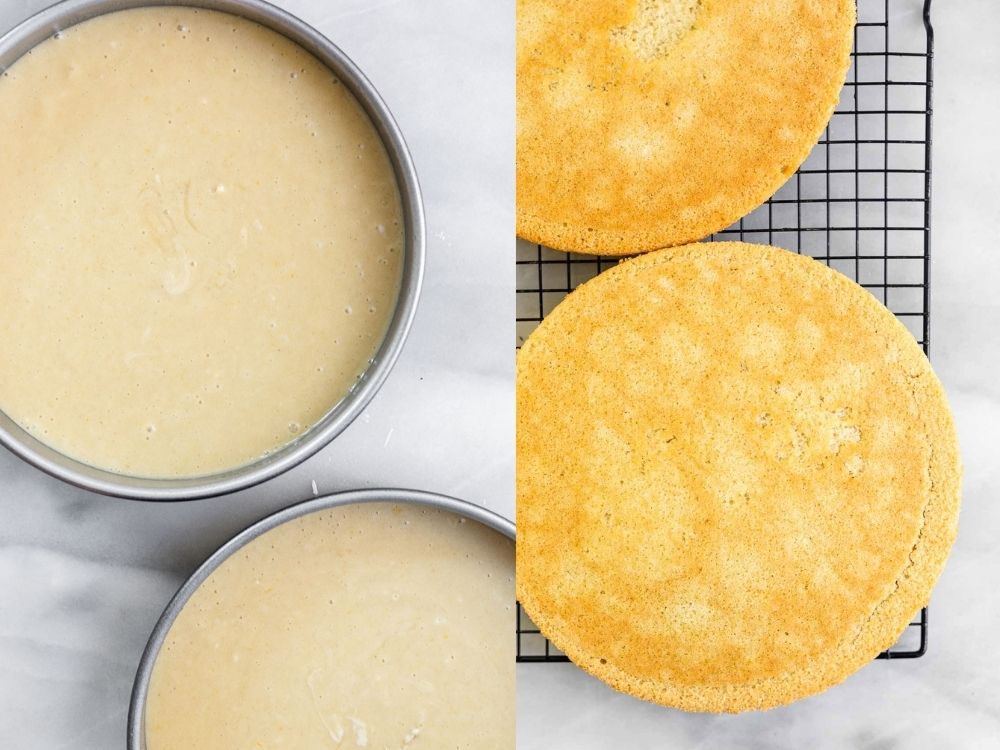
Add the batter to the prepared pans, trying to keep them as even as possible.
BAKE. Bake for 28-32 minutes or until a toothpick comes out clean. 30 minutes is usually perfect in my oven, but all ovens are different.
COOL. Remove from the oven and let cool in the pans for 15 minutes, then carefully flip onto a cooling rack to finish cooling.
FROST. If you want to frost it quickly, add the cakes to the fridge for an hour, otherwise just let cool at room temperature, then frost & enjoy!
Why did it sink in the middle?
Cakes sink in the middle usually because of one of three main reasons. The first is that the cake was over-beaten.
This forces too much air into the batter which causes it to rise and then fall when it cools because the structure isn’t supported, it’s just airy.
The second is because of too much moisture. While no one wants a dry cake, a cake that is too moist is also problematic, especially when no gluten is involved.
This can happen because of an overly moist batter, but also if you live in a humid climate and moisture collects naturally in ingredients like flour.
The final reason a cake can sink is because of too much leavening agent. This cake only uses baking powder, no baking soda, so we use a generous amount, but not so much that the cake structure won’t be able to support itself.
How to store and freeze
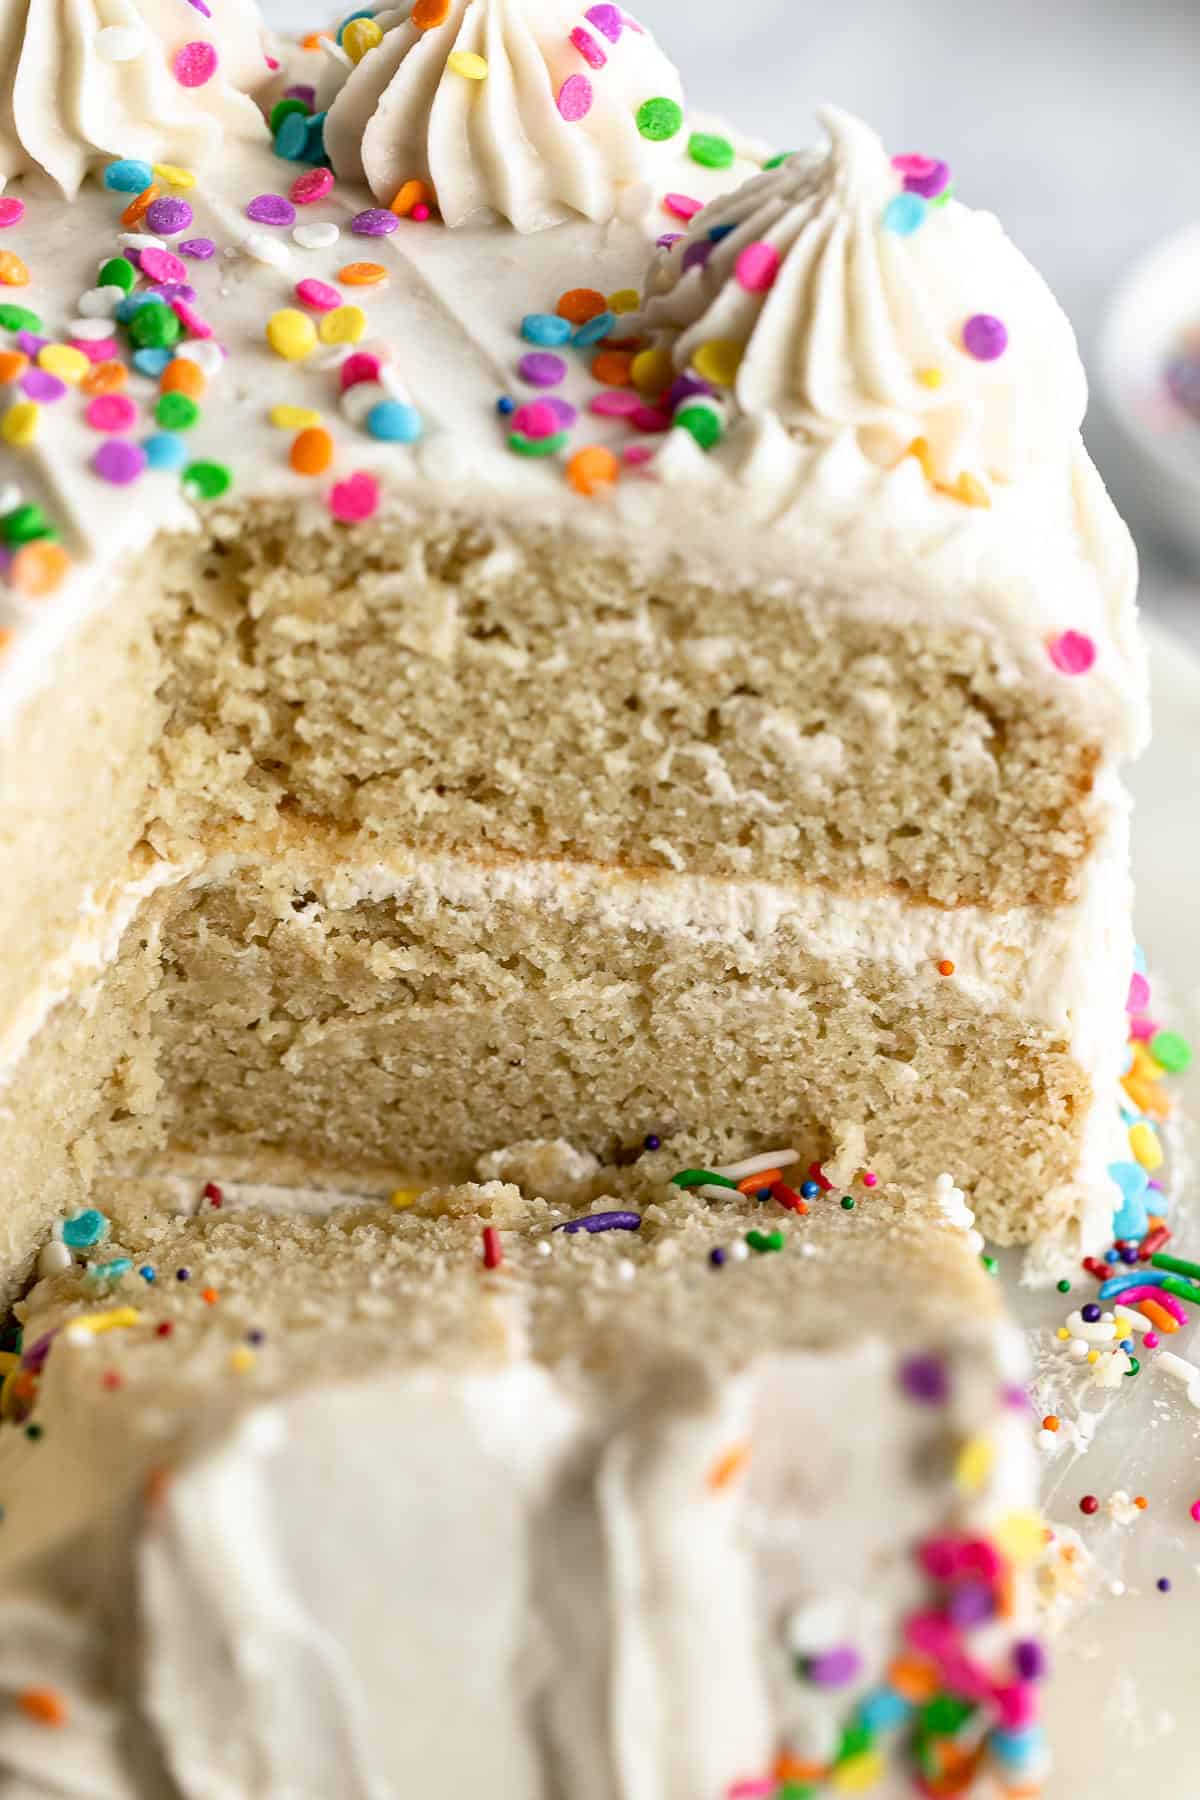
Once made and frosted, this gluten free vanilla cake will keep for about 3 days at room temperature or 1 week in the fridge.
Store in an air tight container for best results. The cake can be prepped 24 hours ahead of time, just let cool, wrap in plastic wrap and place in the fridge before frosting.
You can make the cakes in advance, let cool, wrap tightly in plastic wrap, then place in a freezer safe bag for a few days before serving.
You can decorate the cake while it is frozen, and then let it sit at room temperature before serving.
Make it funfetti!
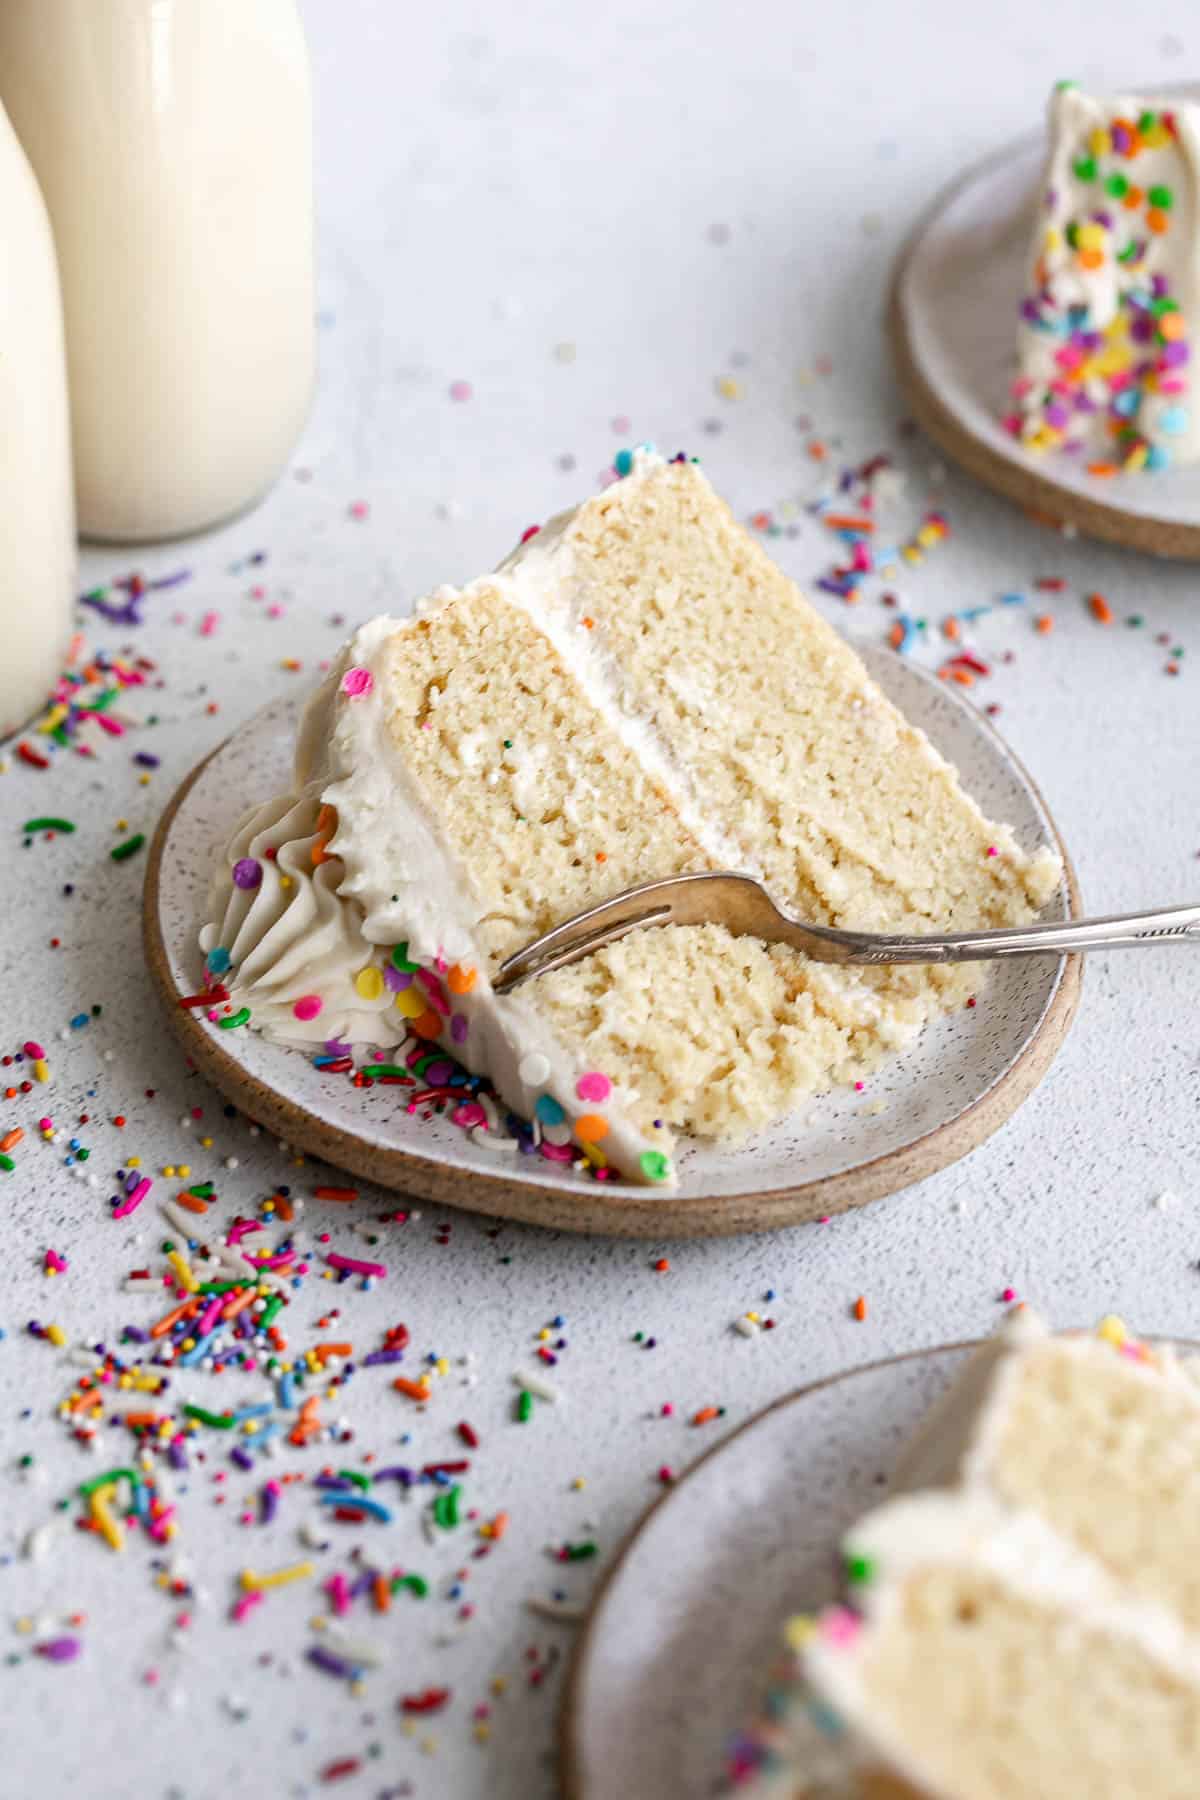
If you’re making this for a birthday, celebration or just want a little more color, feel free to add some sprinkles to the batter and make this a funfetti cake!
I suggest about 1/3-1/2 cup of sprinkles for the batter. The bake time will be the same.
How do you keep gluten free cake moist?
This vanilla cake is made very moist thanks to the butter, oil, eggs and milk. Be sure to keep it covered, either with a cake stand, in a container or covered with foil to ensure it stays moist once it is sliced.
Other than that, the main tip is to not over bake. Bake just until a toothpick comes out clean with a few moist crumbs.

My favorite flour
There are so many gluten free flours on the market these days. Maybe too many! But, you probably know by now that when it comes to gluten free all purpose flour, I am very loyal to the Bob’s Red Mill 1:1 Baking Flour.
You are welcome to use whatever flour you like, but keep in mind there may be some variation in the final result since all blends are different.
Whichever you decide to use, make sure it has xanthan gum in the mix to help bind everything together.
Try these next!
Lastly, if you want more recipes straight to your inbox, be sure to subscribe to my email list. If you make this recipe, be sure to tag me on instagram and leave a comment below!
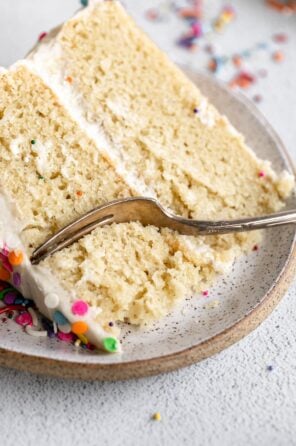
Gluten Free Vanilla Cake
by: claire cary
This gluten free vanilla cake taste just like the classic! It has a moist and tender crumb, rich buttery vanilla flavor and finished off with a creamy vanilla buttercream frosting.
/ /
14
Instructions
Preheat the oven to 350 degrees Fahrenheit.
- Spray and line two 8 or 9 inch round cake pans with parchment paper. I like to use these parchment rounds for convenience.
In a large mixing bowl or bowl of a stand mixer, beat together all wet ingredients. For best results, keep your eggs and milk at room temperature and melt your butter, then let it cool slightly.
Beat in the dry ingredients until a smooth batter forms, making sure to spoon and level the flour.
Add the batter to the prepared pans, trying to keep them as even as possible.
For 9 inch cakes, bake for 28-32 minutes or until a toothpick comes out clean. 30 minutes is usually perfect in my oven, but all ovens are different. For 8 inch cakes, bake for 30-36 minutes or until a toothpick comes out clean.
Remove from the oven and let cool in the pans for 15 minutes, then carefully flip onto a cooling rack to finish cooling.
If you want to frost it quickly, add the cakes to the fridge for an hour, otherwise just let cool at room temperature until completely cool.
You can also let the cakes cool, wrap them in plastic wrap, place in the fridge and frost the next day.
- Prep the buttercream if you haven’t done so already.
When the cakes are cool, frost the cake, I like about 1 cup of frosting between each layer, and then 2 cups to cover the outside.
- The cakes will be slightly rounded in the middle, so I used a cake leveler to make them flat, but you definitely don’t have to, they will still look great even with slightly domed tops!
Notes
For the buttercream and cake, feel free to use either regular butter or dairy free.
Serving: 1slice / Calories: 424kcal / Carbohydrates: 68g / Protein: 5g / Fat: 17g / Saturated Fat: 7g / Fiber: 2g / Sugar: 46g

